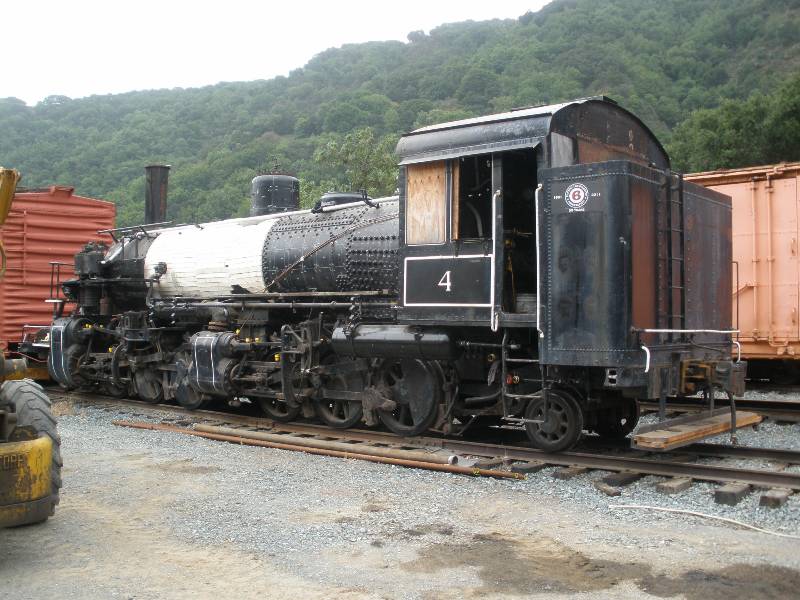
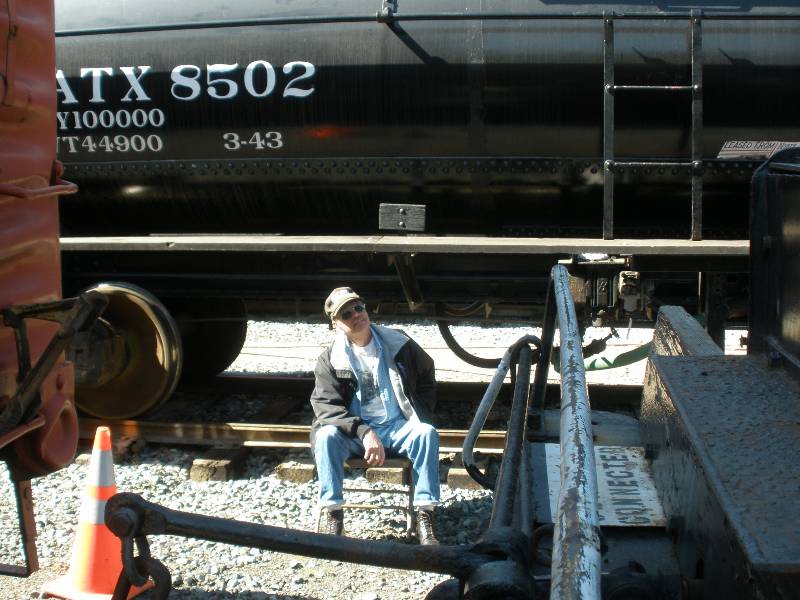
Clover
Valley Lumber Co. #4
Restoration Work
Log
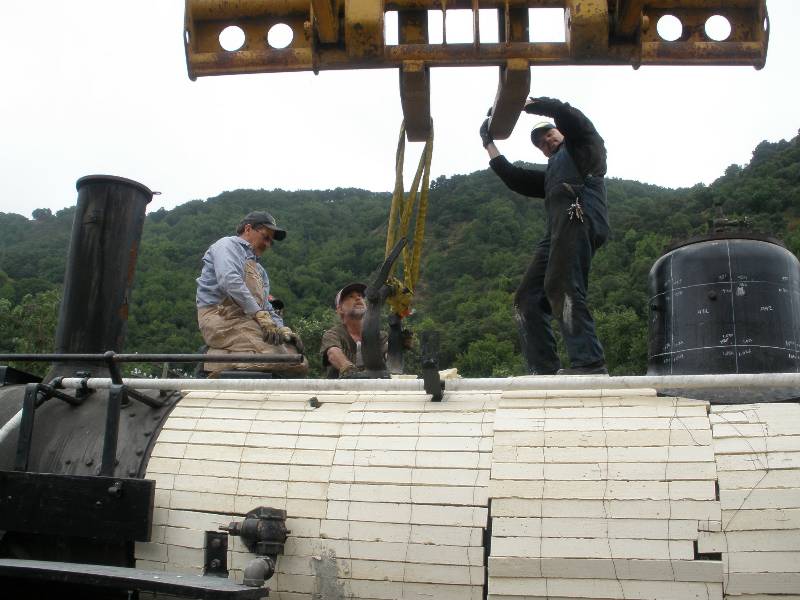
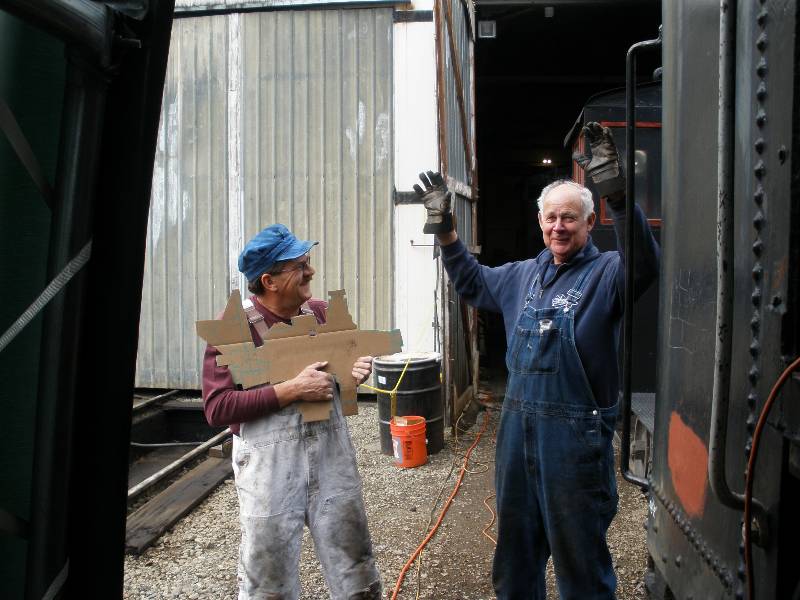
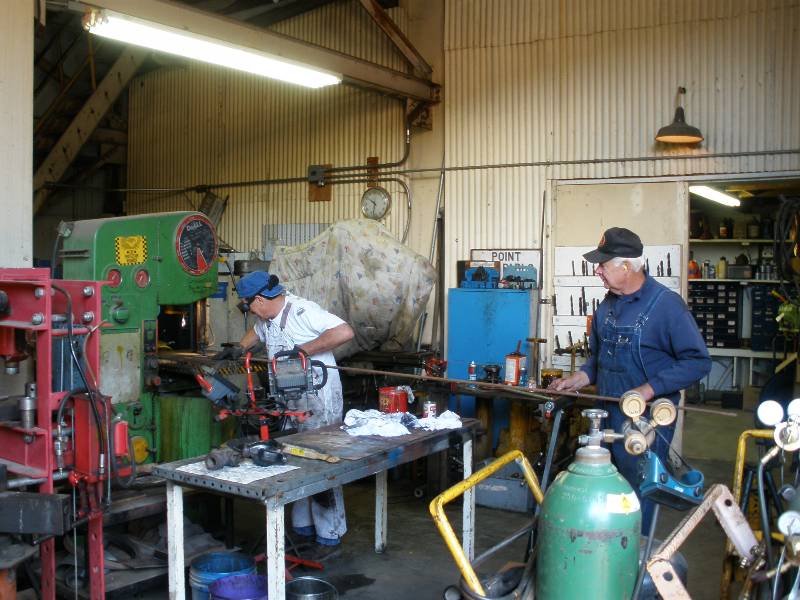
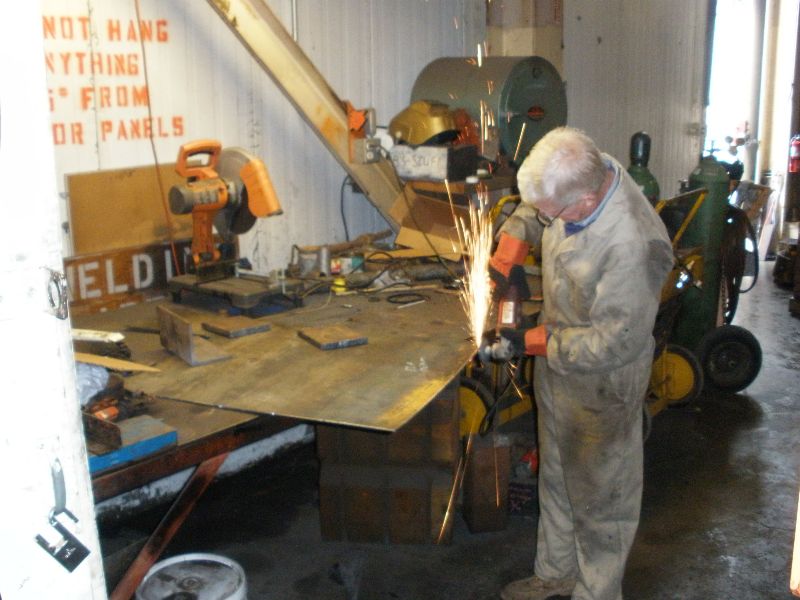
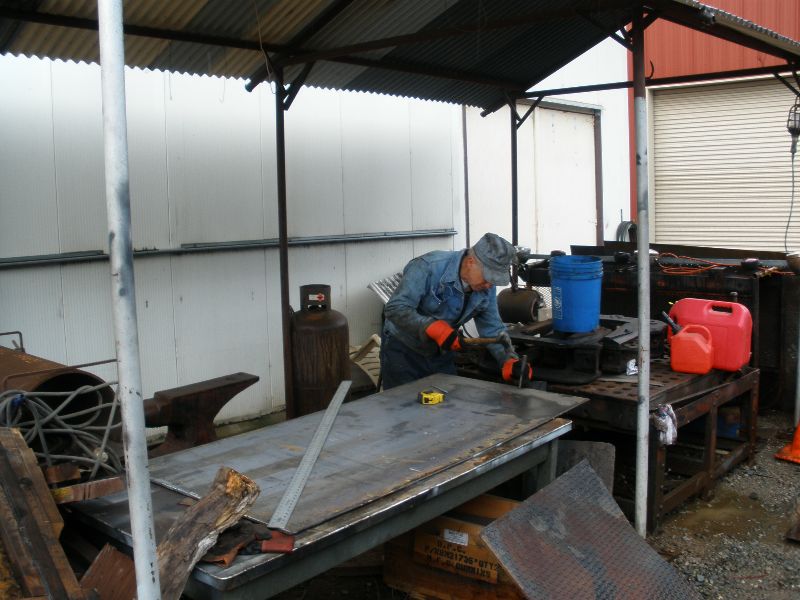
Lynn, Les and Chris with several of the first cut sheets of new metal ready to have further holes and cuts made so they can be installed on the boiler. | |||
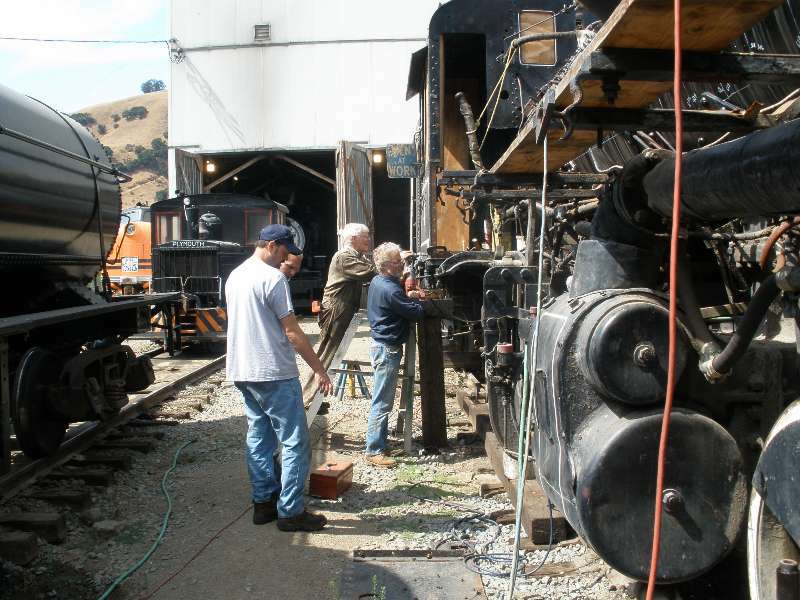
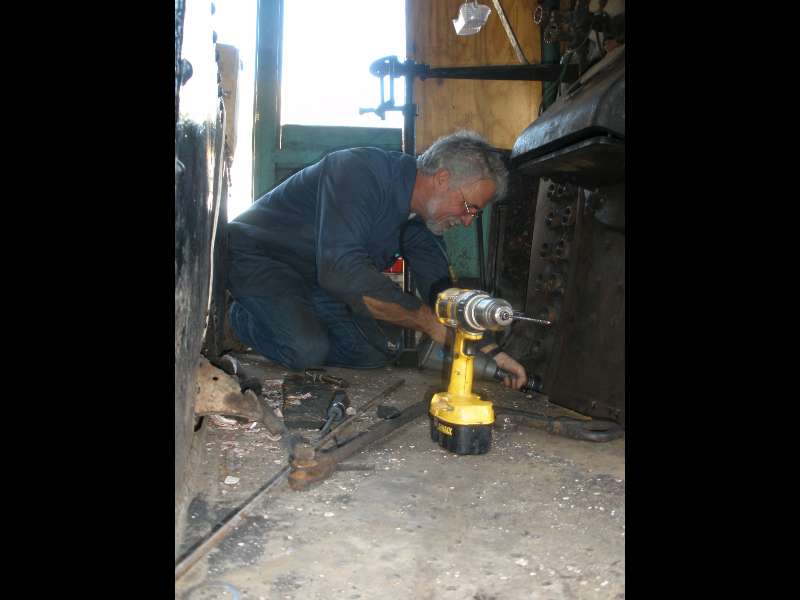
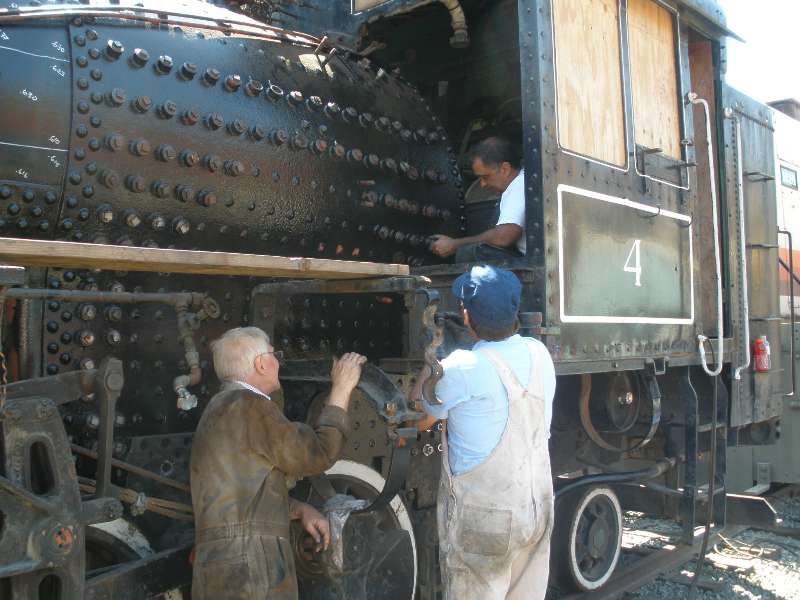
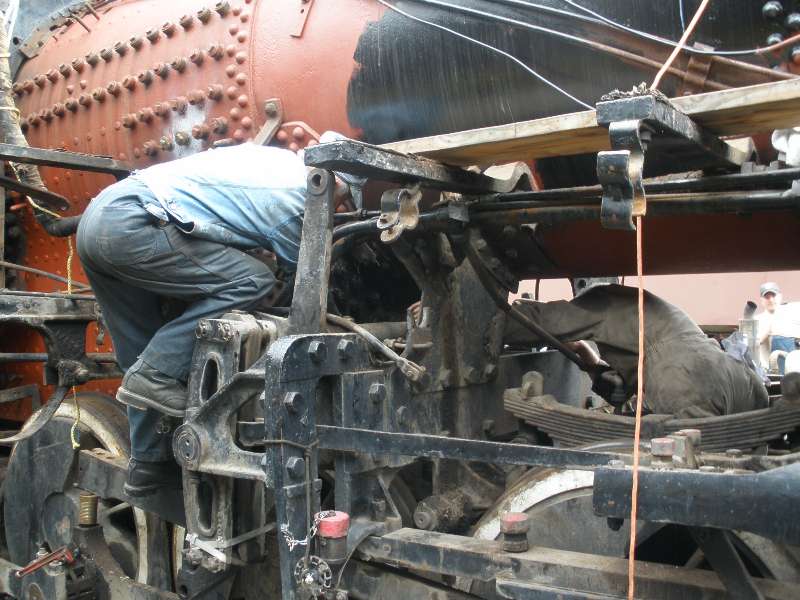
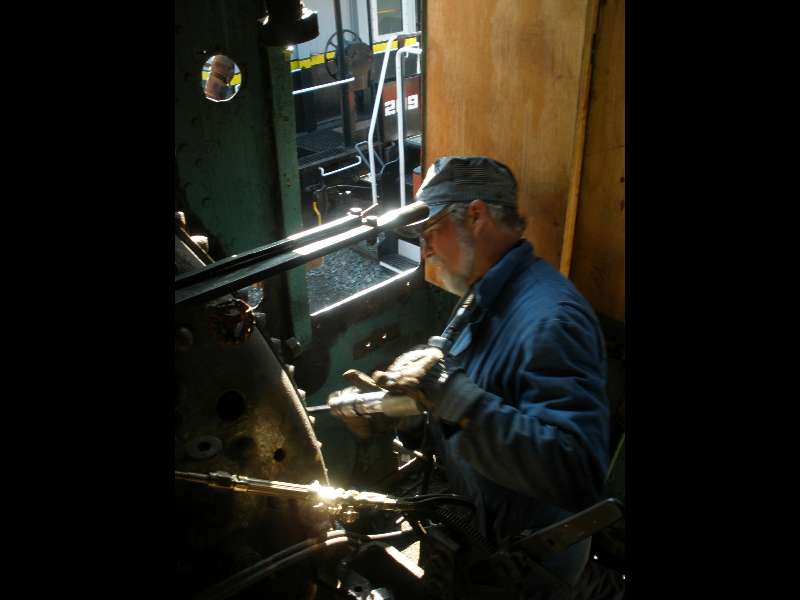
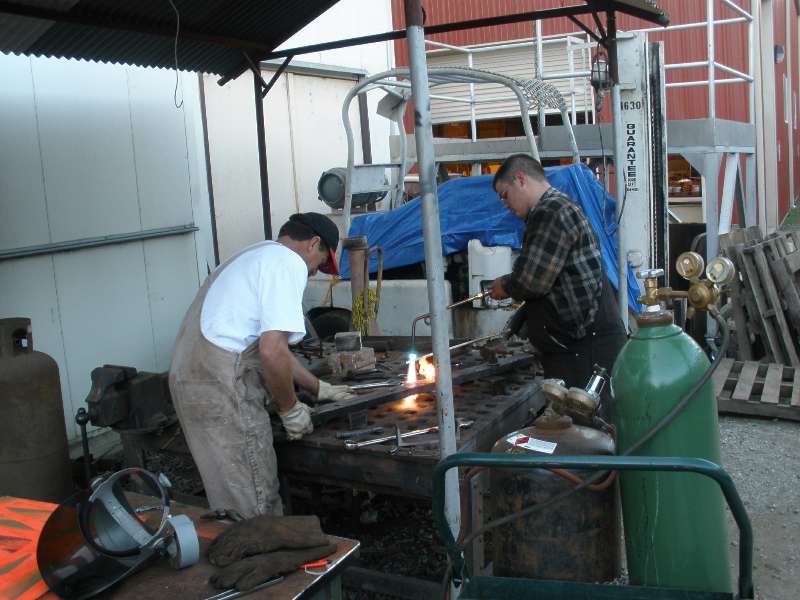
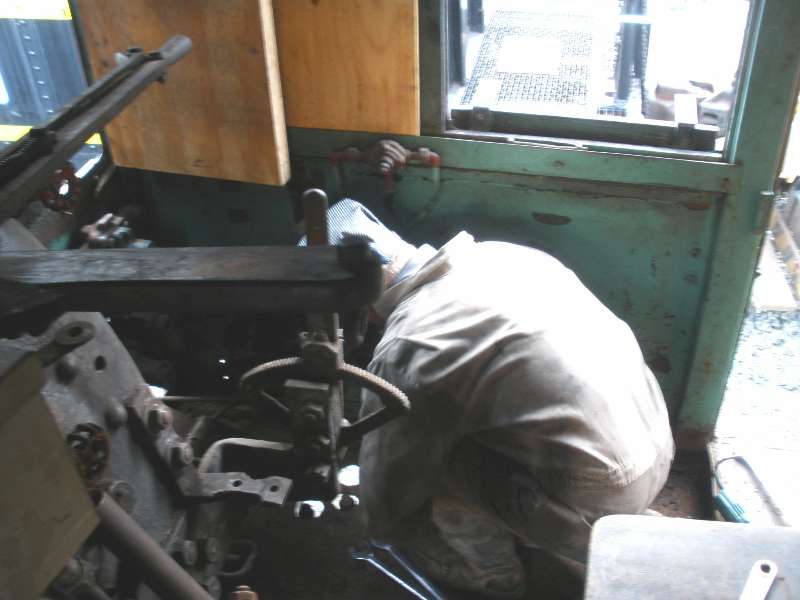
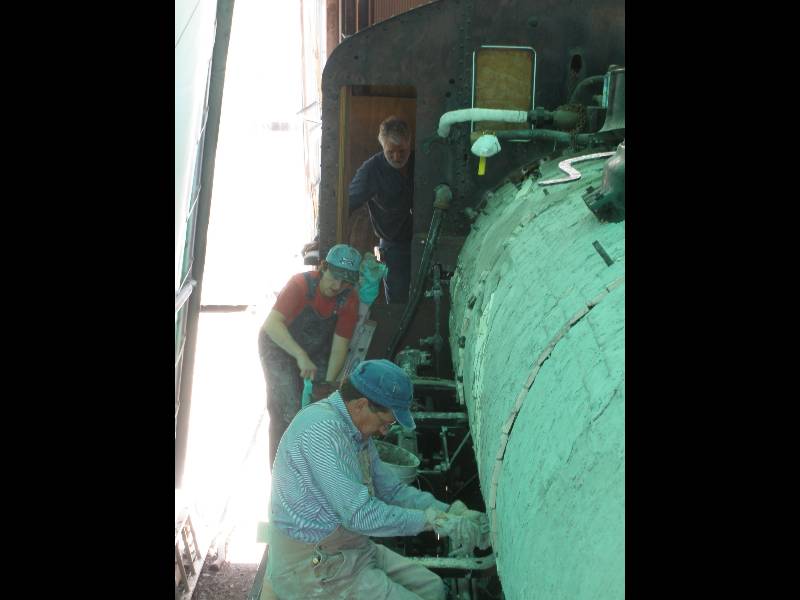
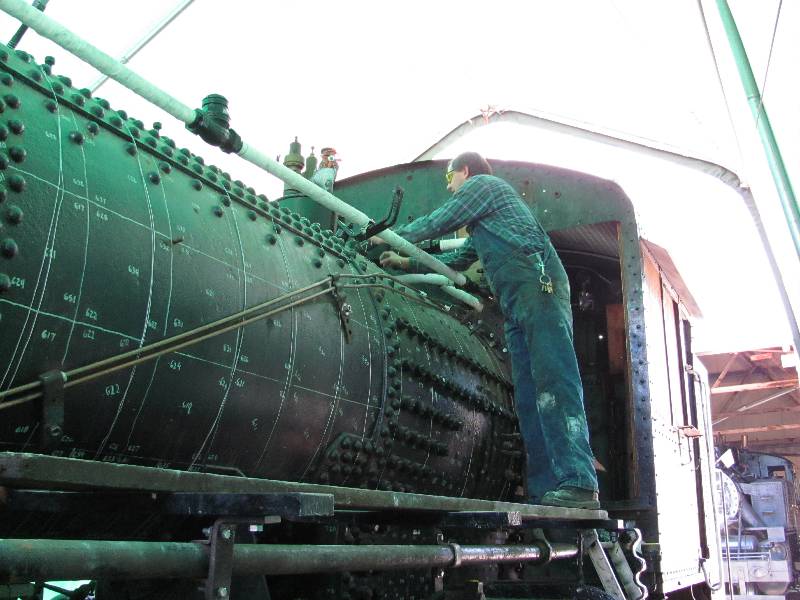
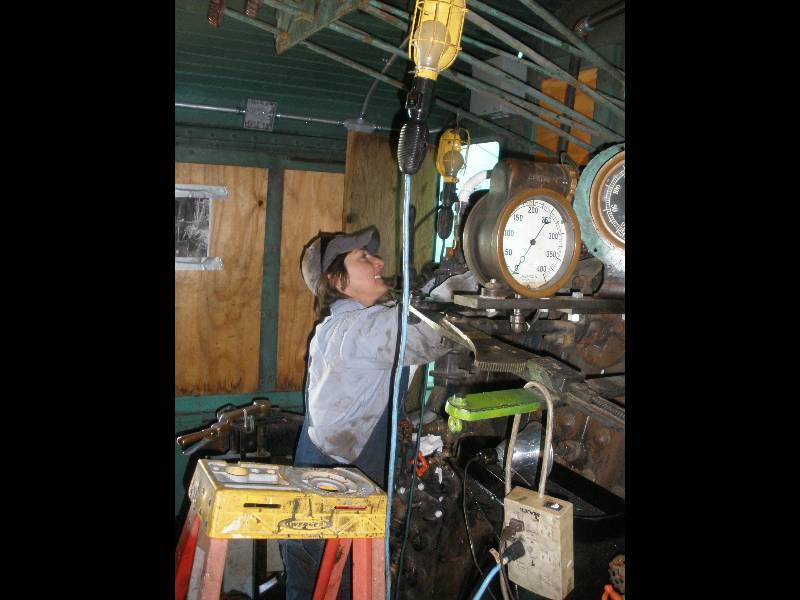
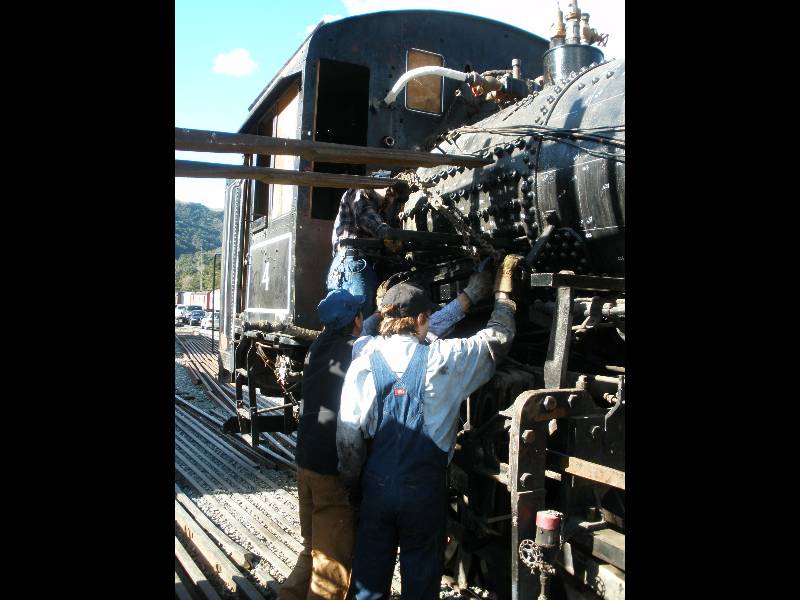
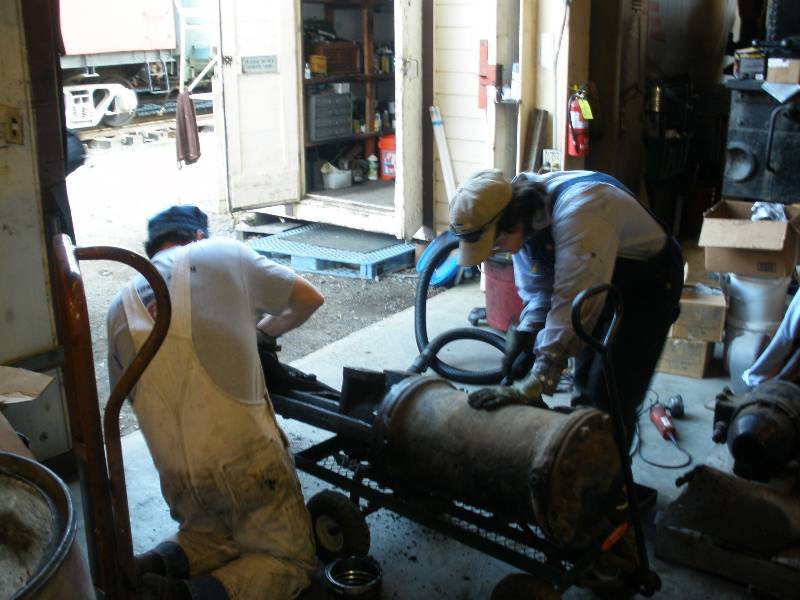
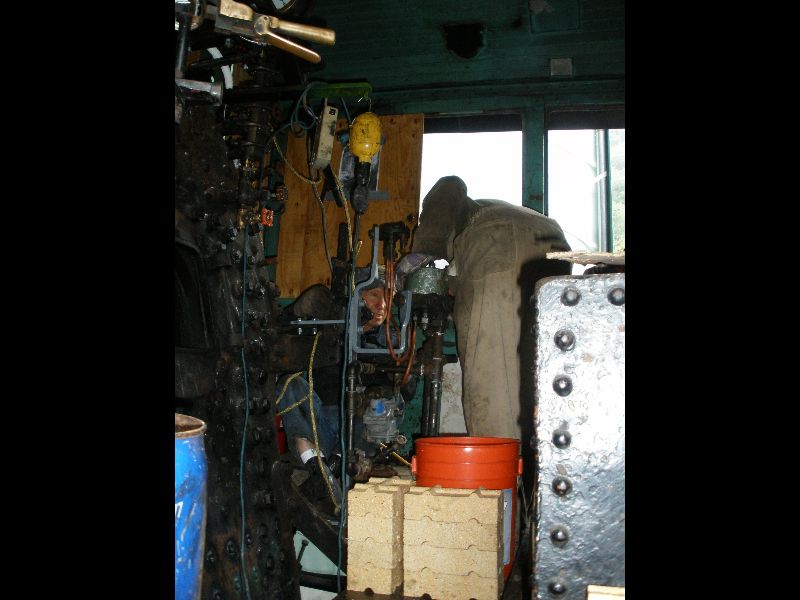
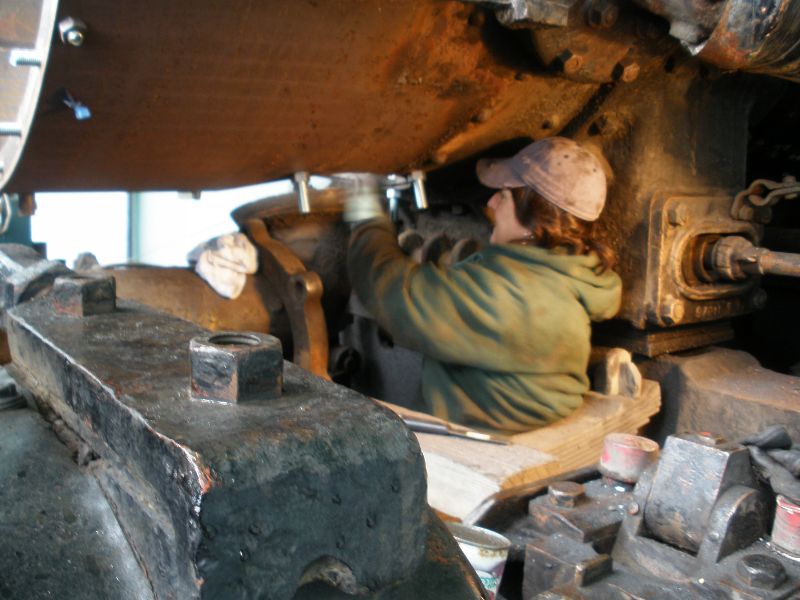
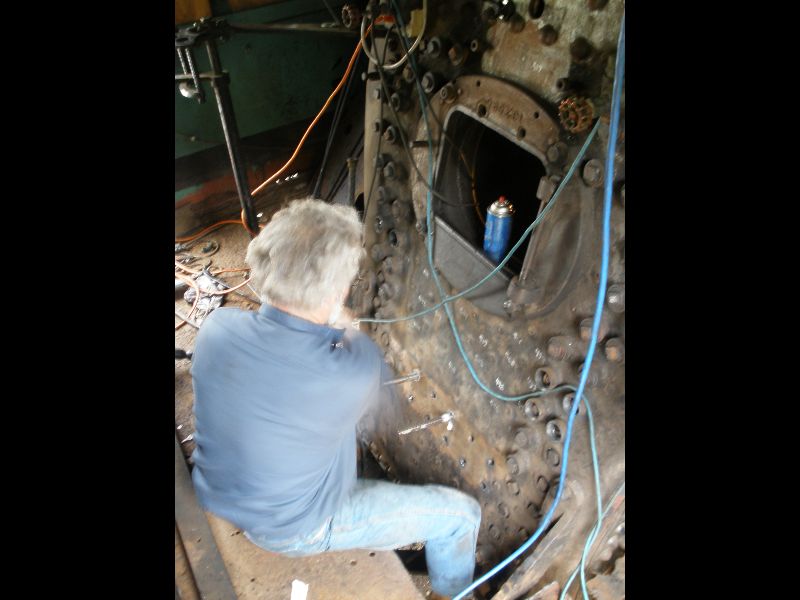
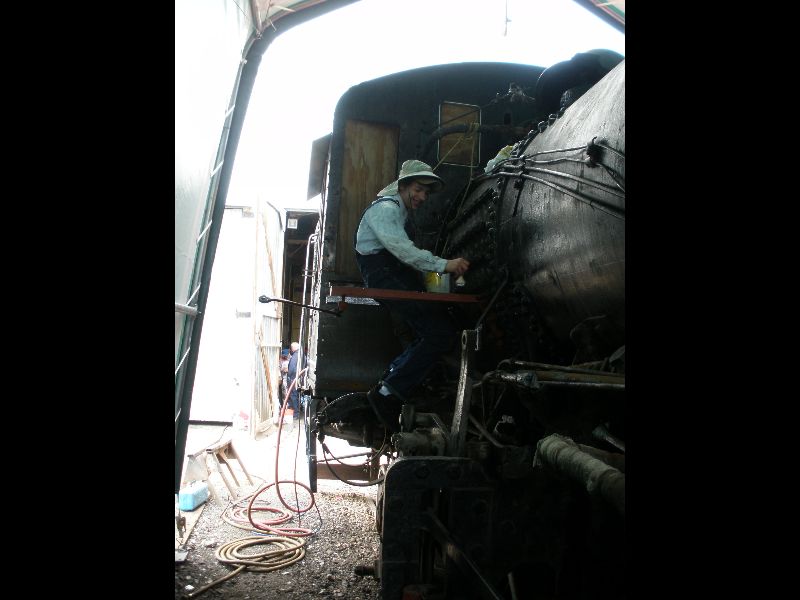
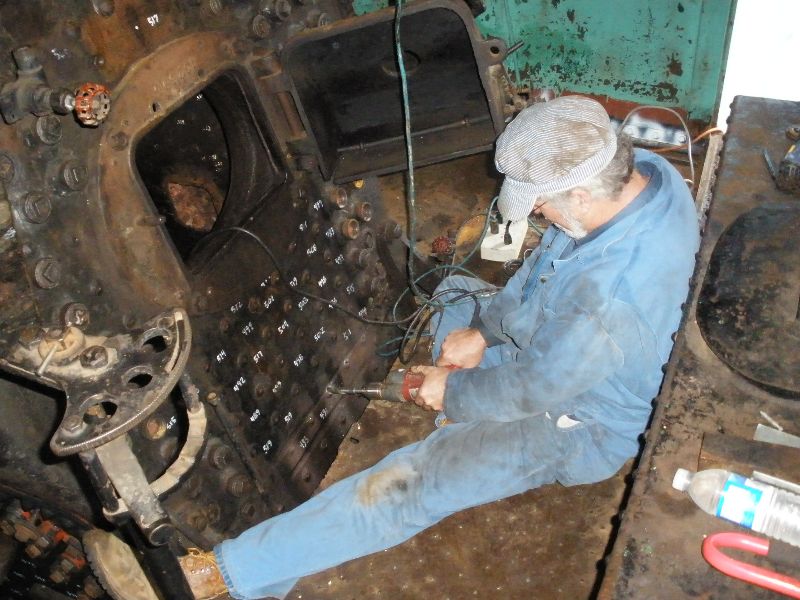
Jeff tightening piping in the cab. A lot of work is happening on the engineer's side. Gerald insulating, Pam climbing back up with another bucket of mud and Henry in the cab doing some fabrication work. | |||
Henry working on PLA's large sheet metal brake that will be used to fabricate the new jacket. Gerald still hard at work, this time on the fireman's front door. | |||
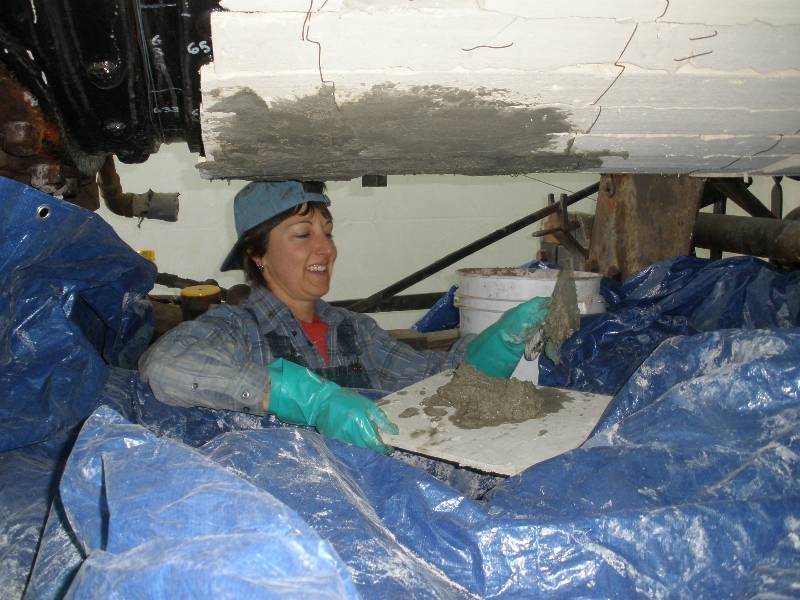
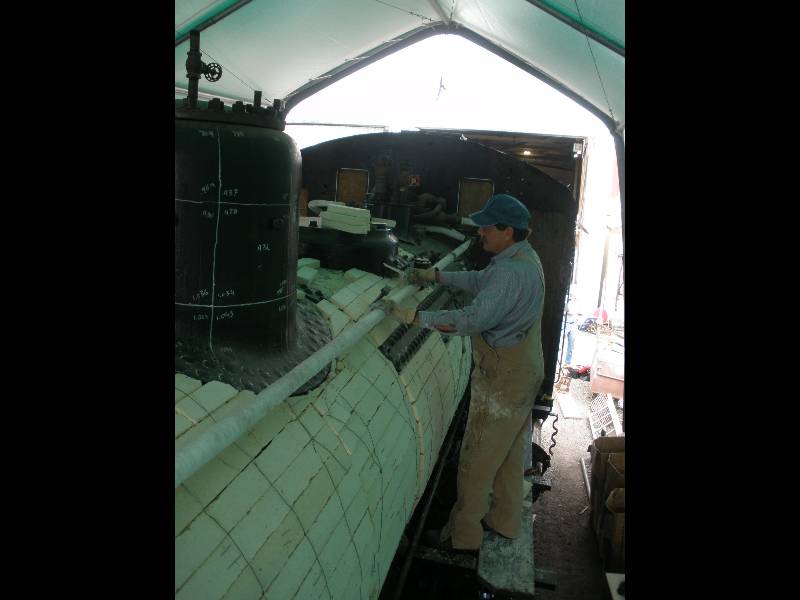
Gerald installing the last few pieces of insulation. Pam "mudding" the belly insulation, a fun job as a good portion of the mud falls back down on you. Pam is still smiling through it all. | |||
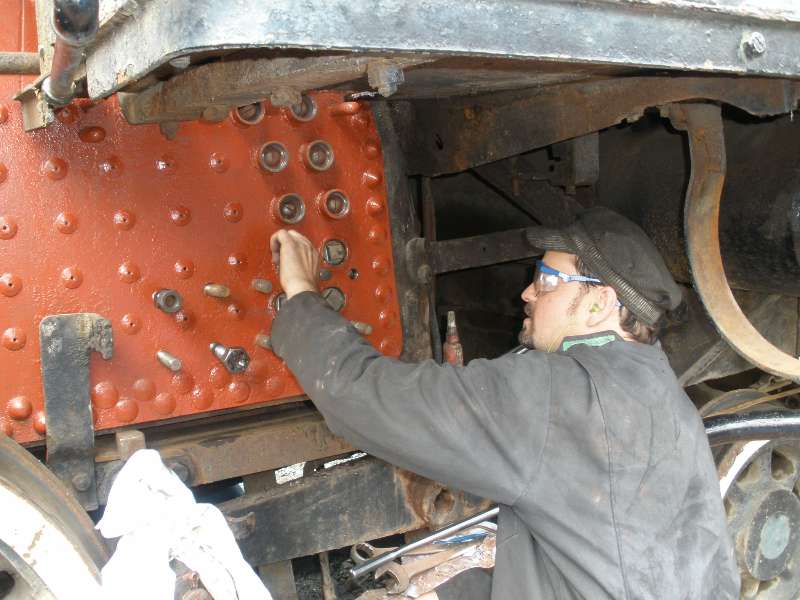
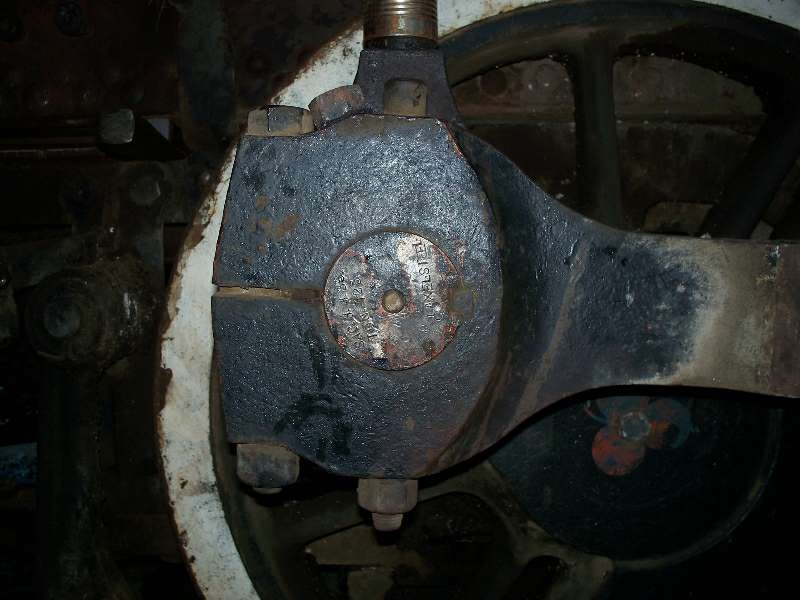
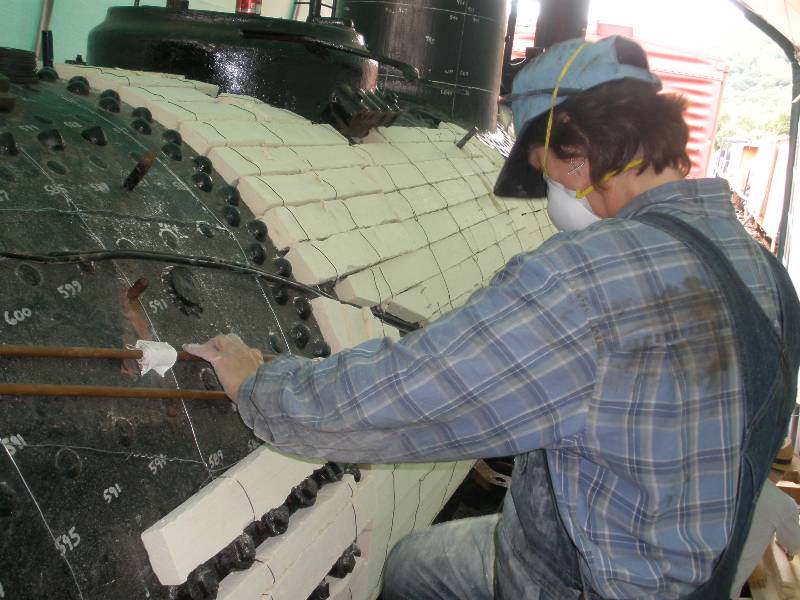
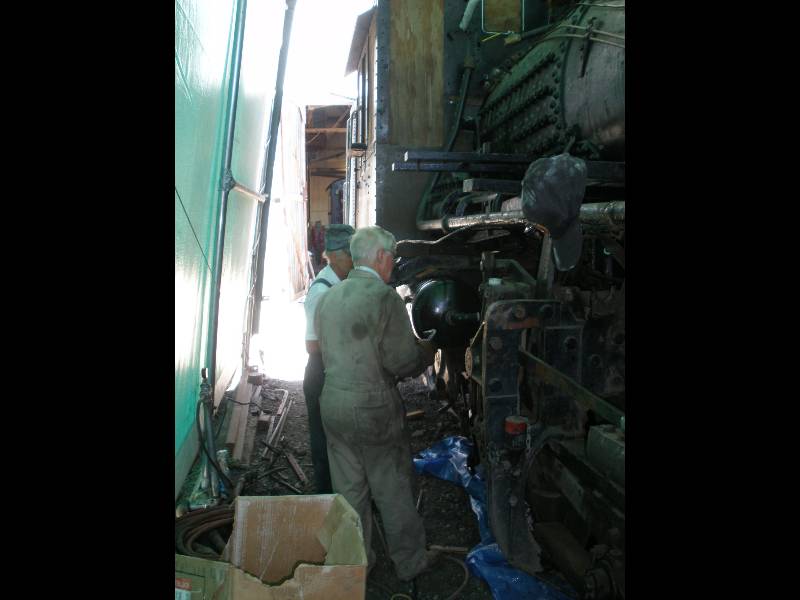
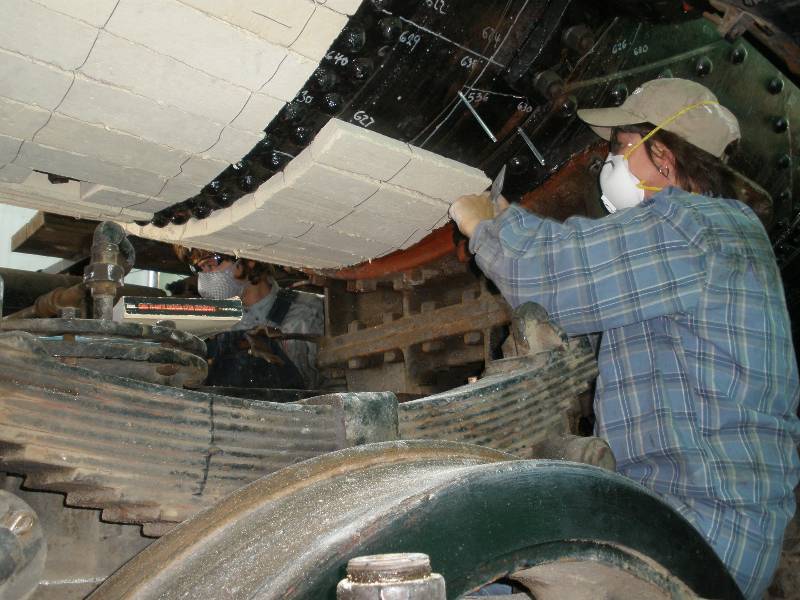
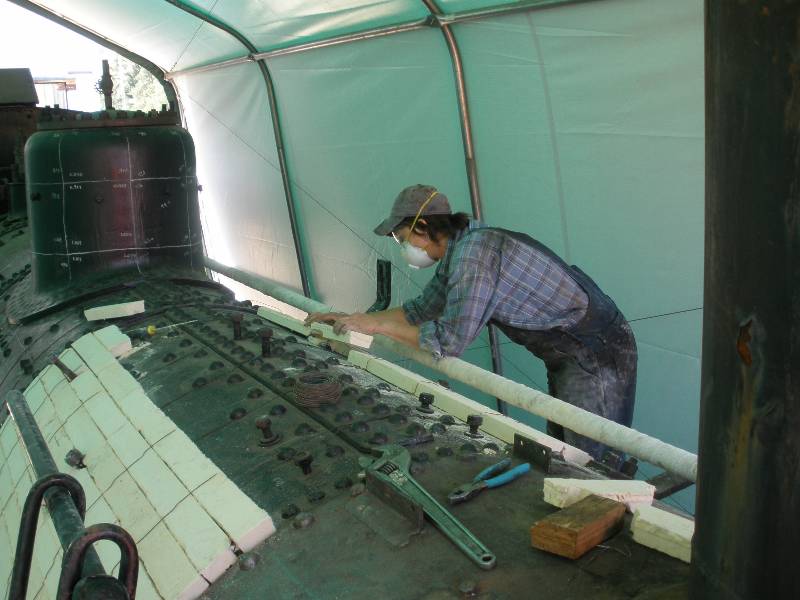
Gerald at work insulating the firemans side. Notice the buttstrap that will be insulated later with thinner material. Top of the first course with insulation around the bell, dynamo bases and the buttstrap insulated with a thin layer of calcium silicate. The rivit heads are not insulated. | |||
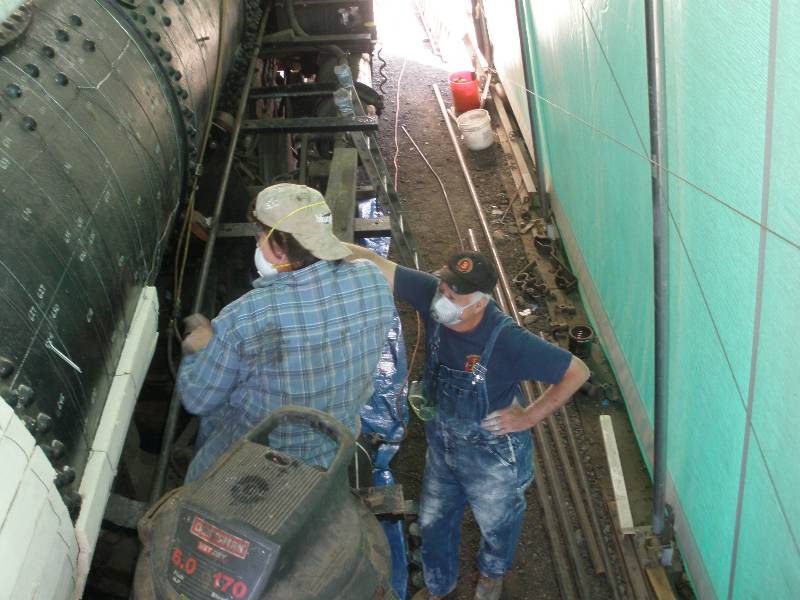
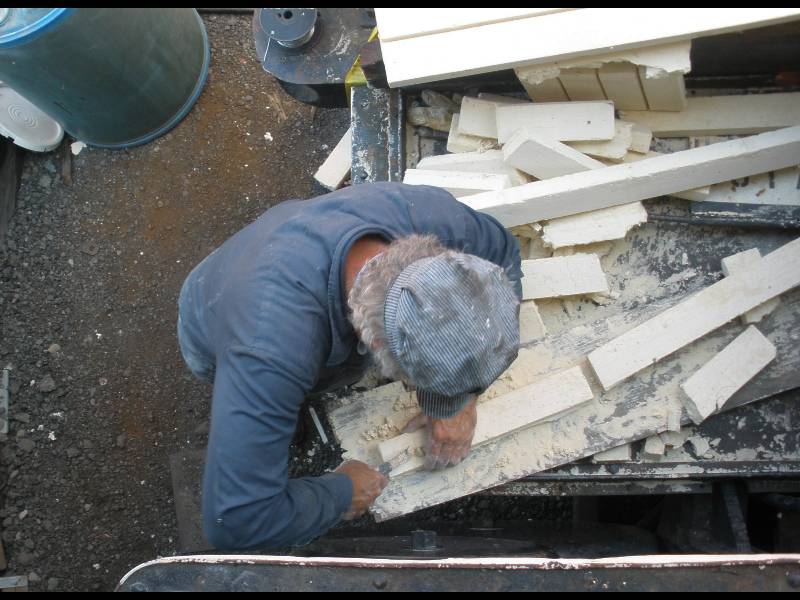
Master Insulator Pam at work on the 3rd coarse - almost 3/4 of the way done with insulating. Tom wire brushing one of the better looking pieces of material in a futile attempt to save some of the original material. In the end, we decided that it is only good for a pattern. | |||
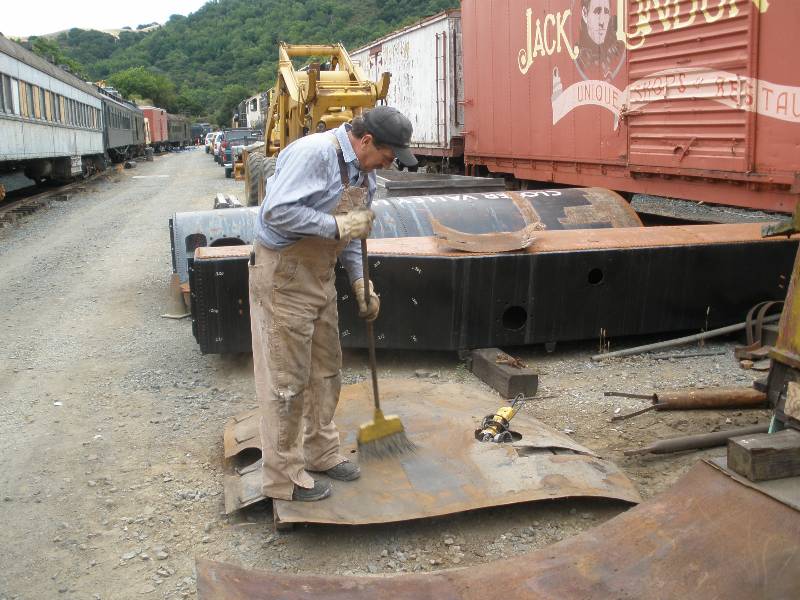
Henry welding in additional cab floor supports to try to fix the "sagging cab floor" issue. Number 999 of 1001 uses for a broom. Gerald cleaning rust off a piece of the old jacket material. | |||
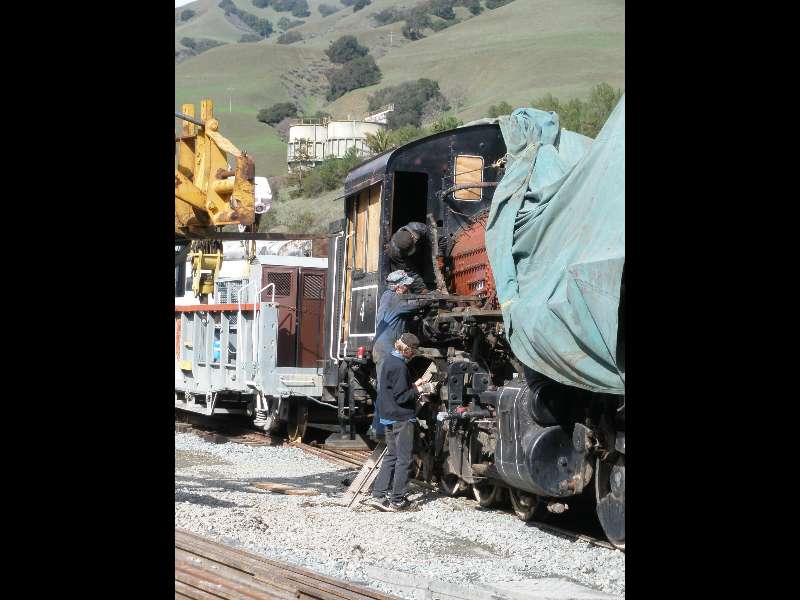
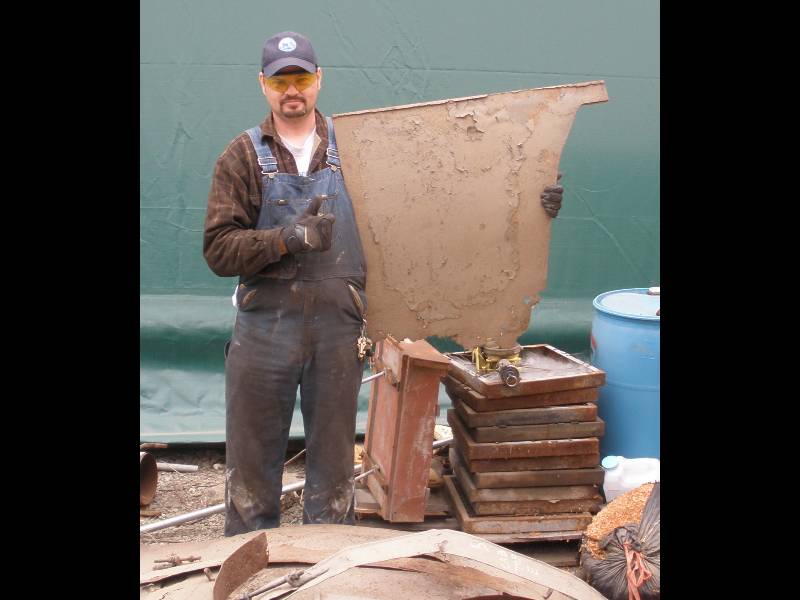
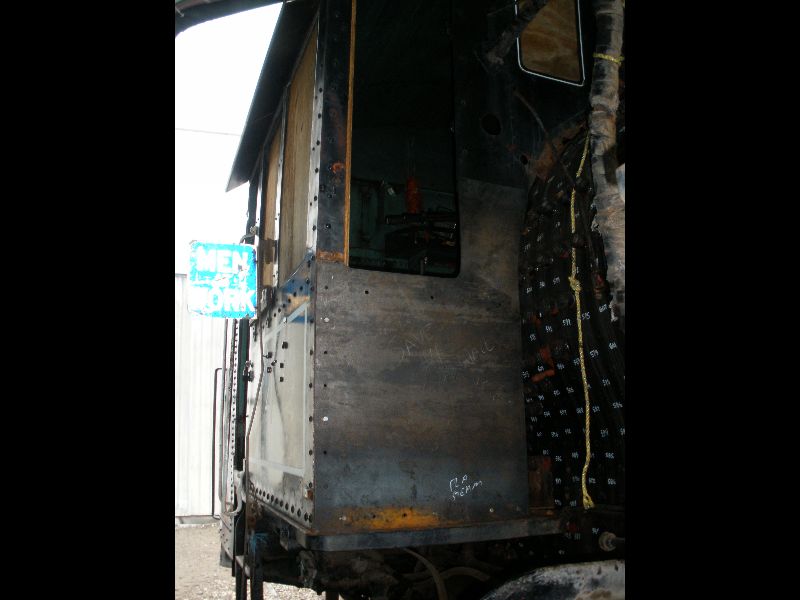
Jeff looking though the old jacket material to see if any can be saved. The sheet metal has done its job over the last 90 years but is severely corroded and needs to be replace. CJ under the engine installing insulation. | |||
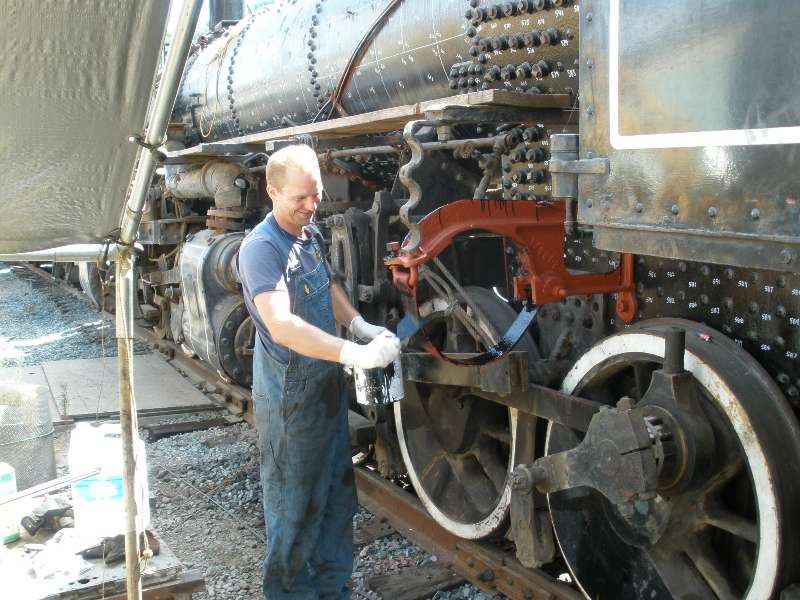
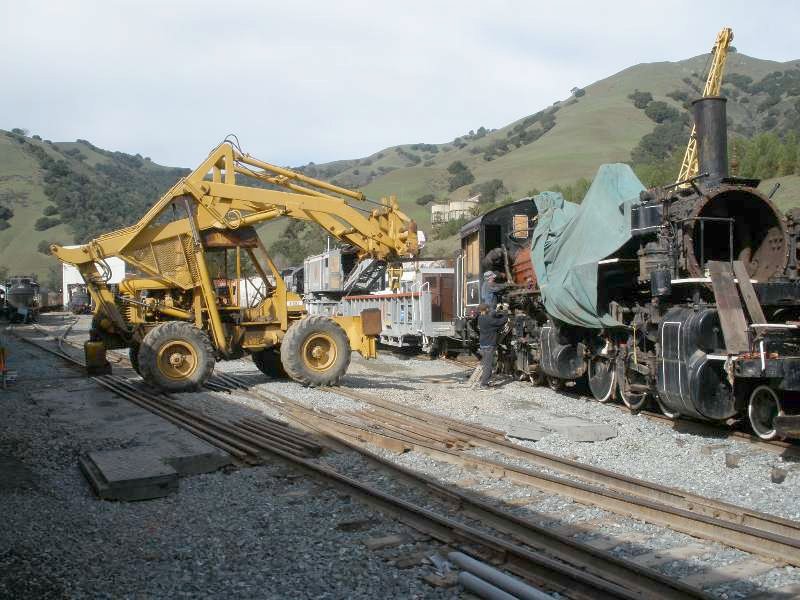
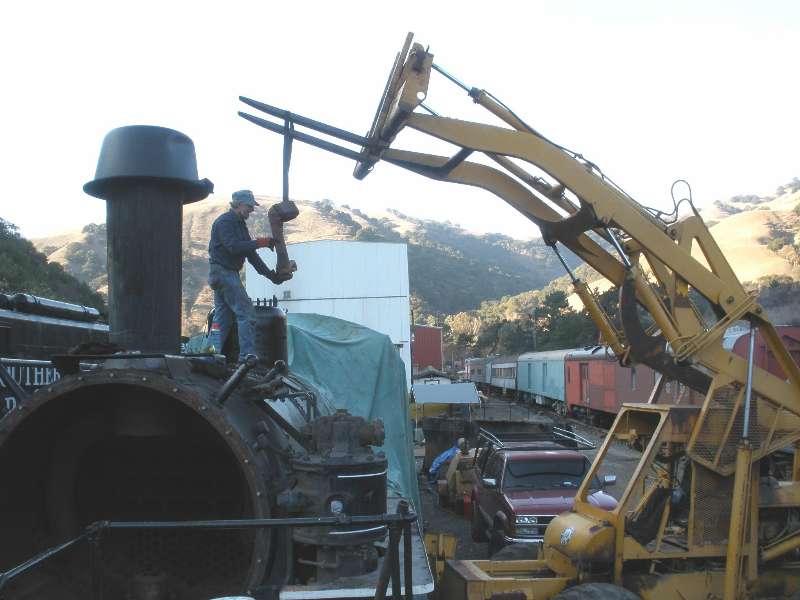
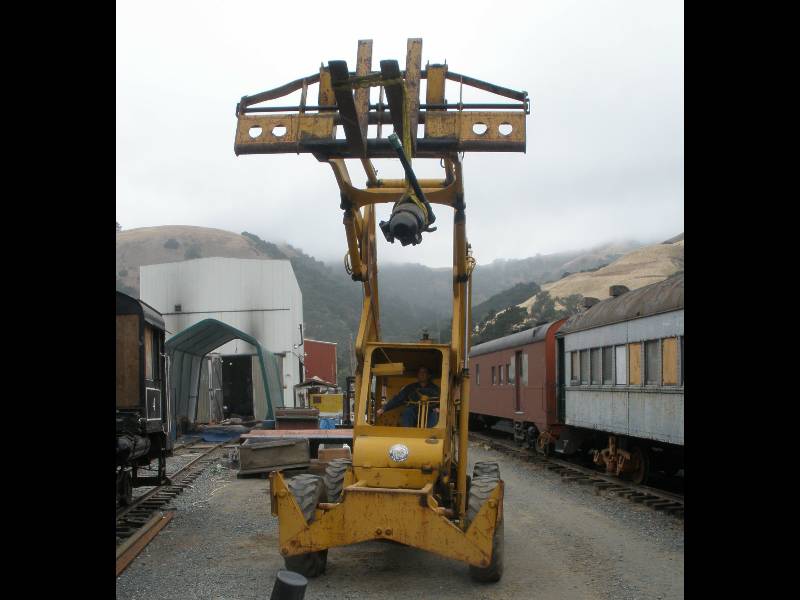
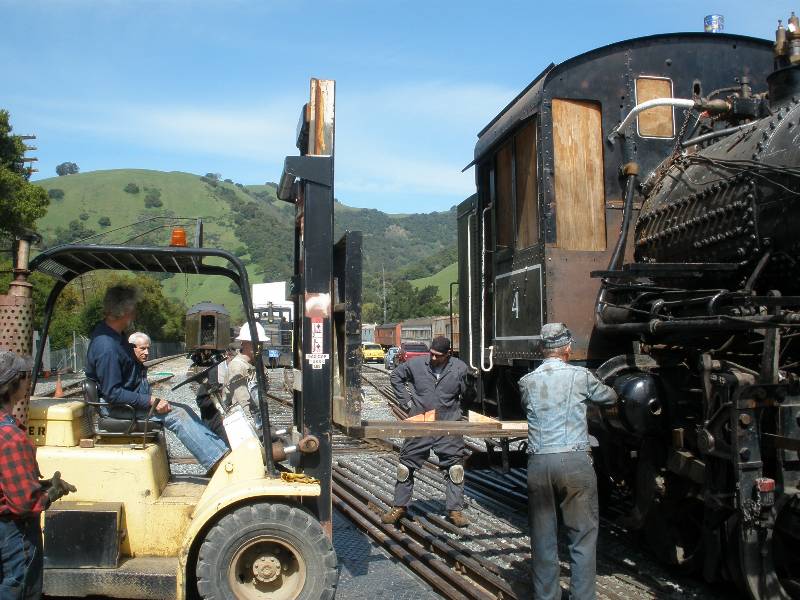
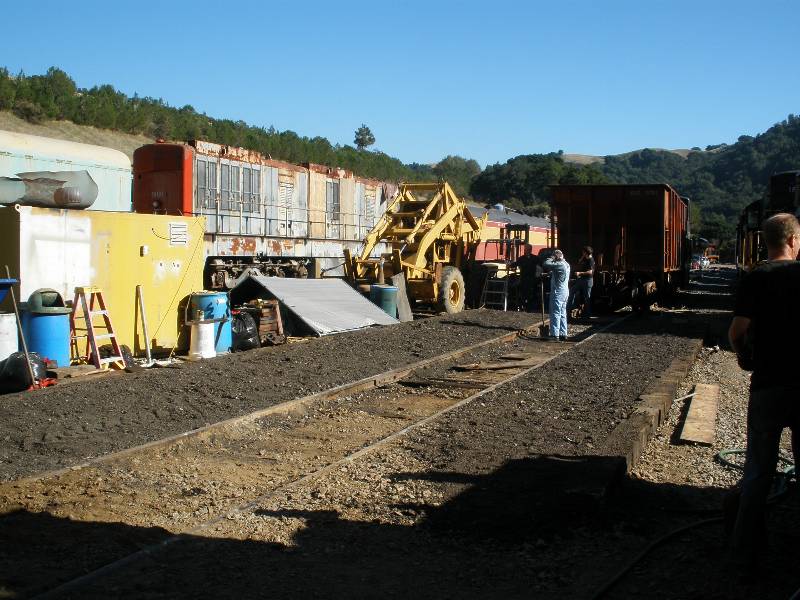
Alan driving the Pettibone with another piece ready to go back on the #4. This time, it's the dynamo. Gerald positioning the dynamo to install the mounting bolts. | |||
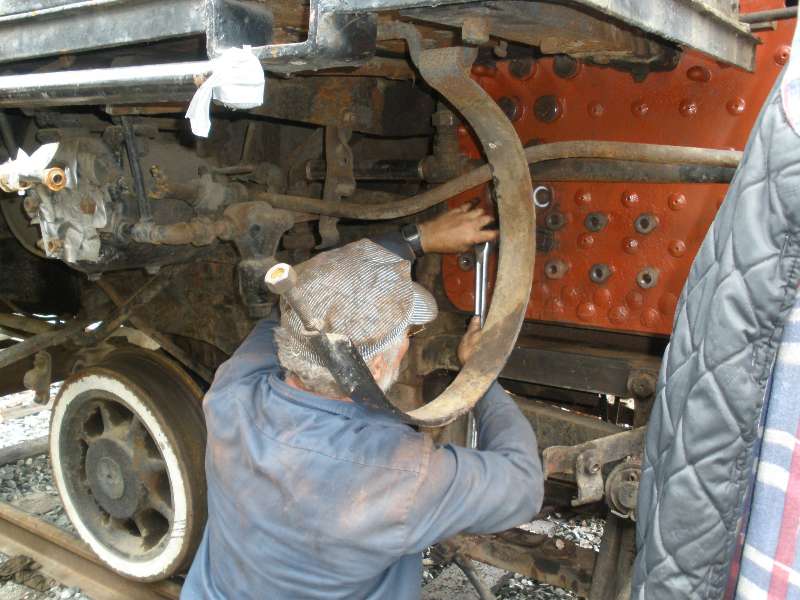
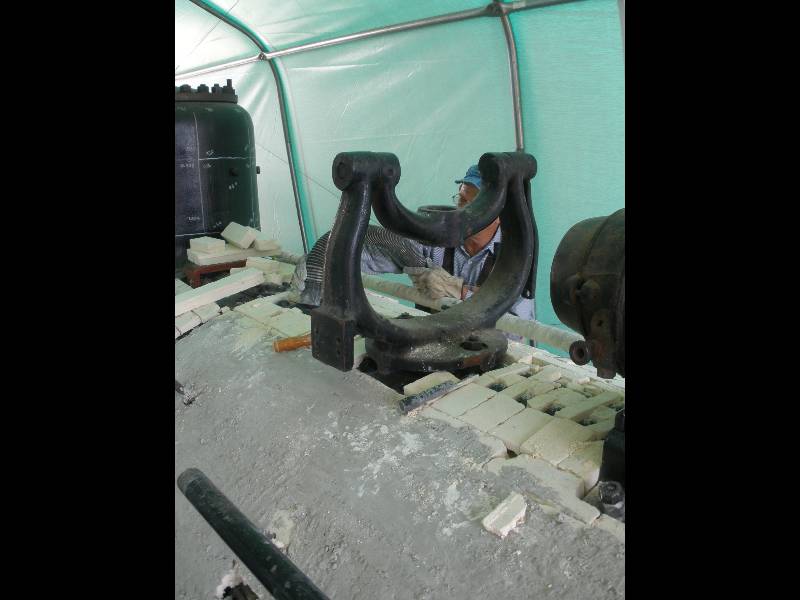
The Mallet outside waiting for more parts in the early morning mist which seemed more like another day of rain. This is July, correct? Gerald, Tom and Jeff mounting the bell yoke back on the boiler. | |||
Jim doing a little painting on the sand dome. Pam and Jeff place the sand dome back on the boiler in preparation for insulation. | |||
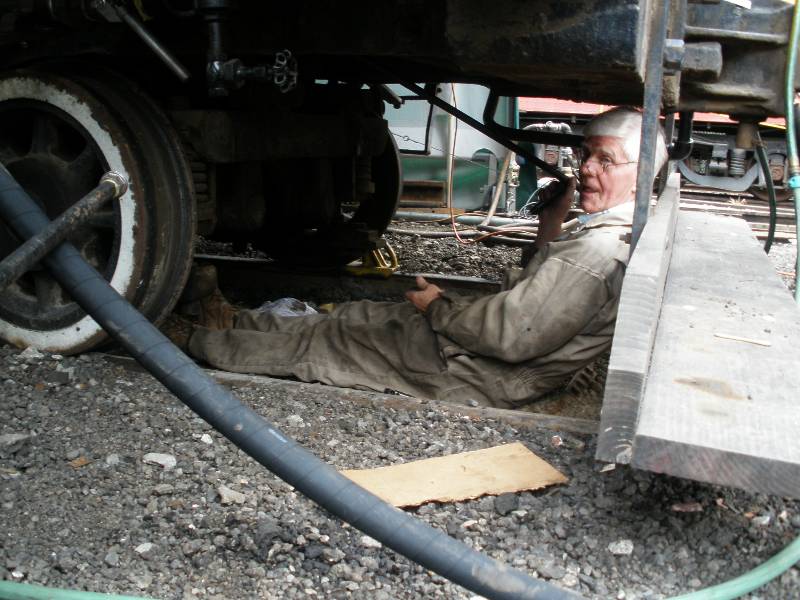
Why does it seem that Pam is always found under the locomotive? Probably because it requires someone smaller and Charlie is out of town. As before, Jim is busy custom cutting the blocks for Pam to install. | |||
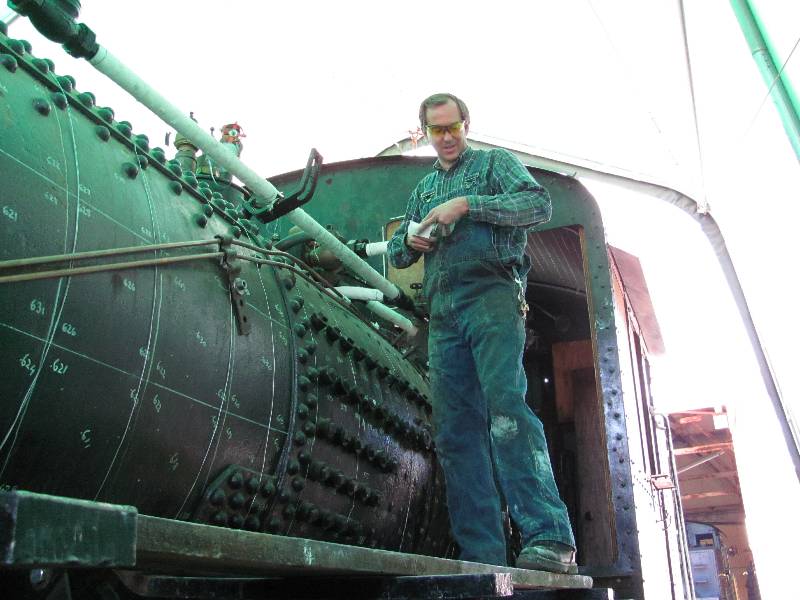
Alan is busy installing wrapping around the lubricator lines. The wrapping will keep the lines from abrading against the boiler shell. | |||
There is always something else to work on. This time, it is the sand dome. The base is rebuilt and ready to go back on. Gerold is expressing is delight at lagging a boiler on this bright, sunny day. | |||
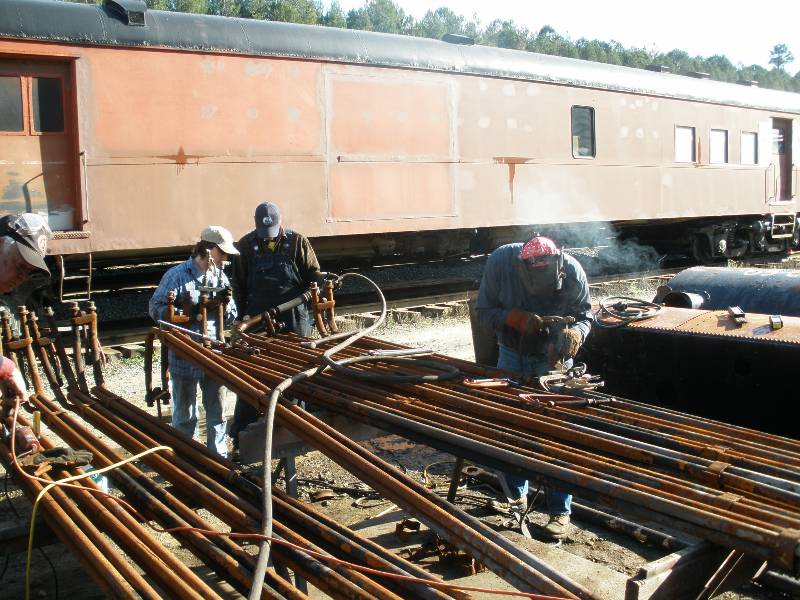
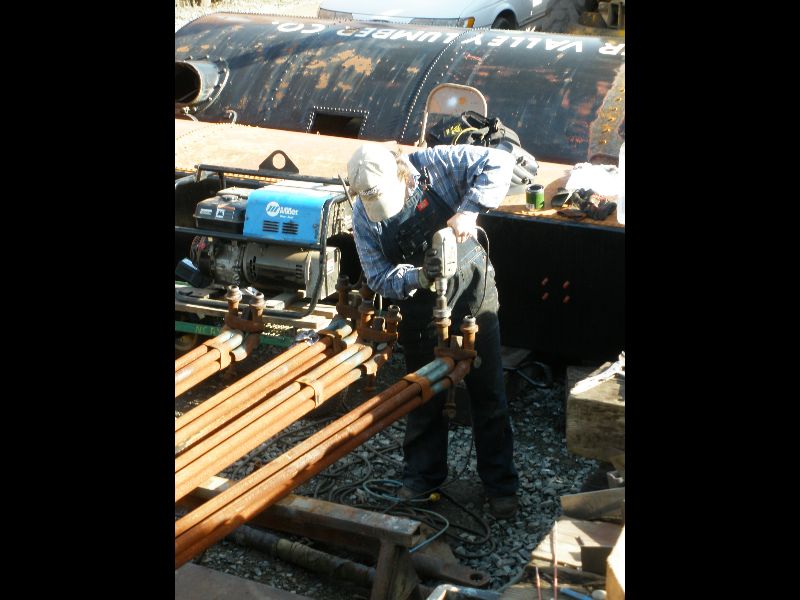
CJ working on the upper portion of coarse #2. Nearly half done! Les and Chris installing new air piping between the new air tanks. | |||
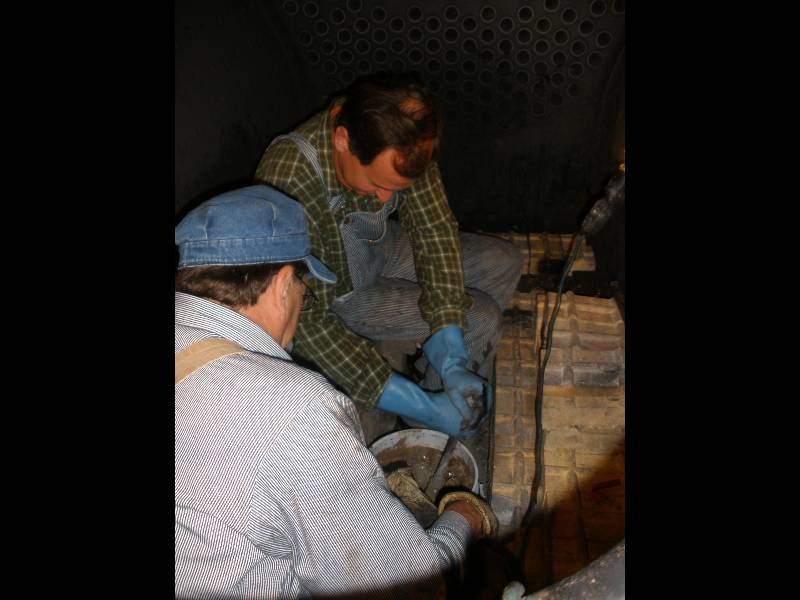
Pam insulating the belly of the beast. Pam and Jim at work. | |||
Master carpenter Henry trying his cutting skills on calcium silicate insulation instead of lumber. | |||
Dave and Gerald running wire around the boiler which will hold the block insulation during installation. Pam setting block insulation near the top of the boiler. The first coarse is almost done, 3 more to go. | |||
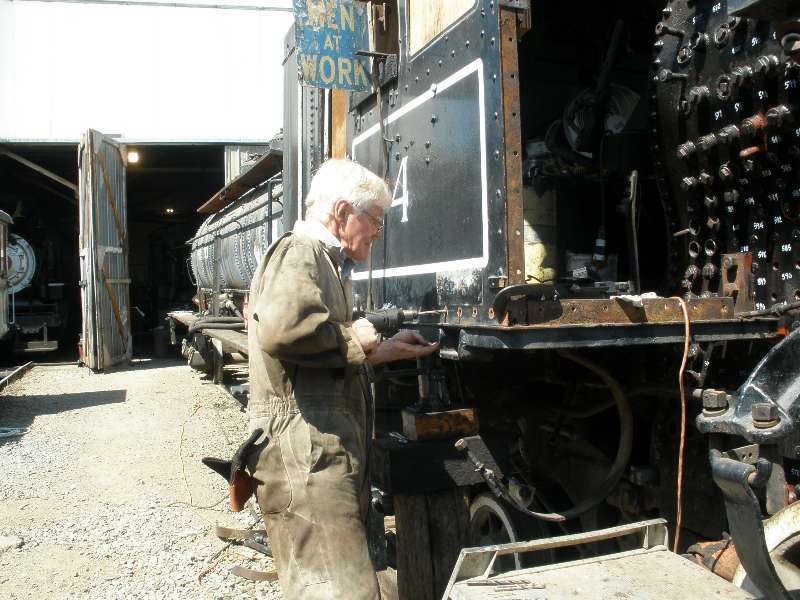
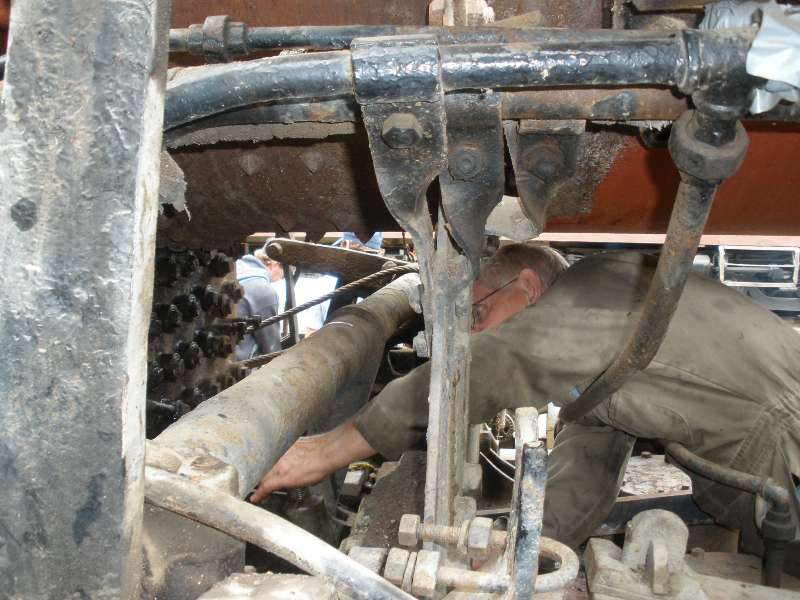
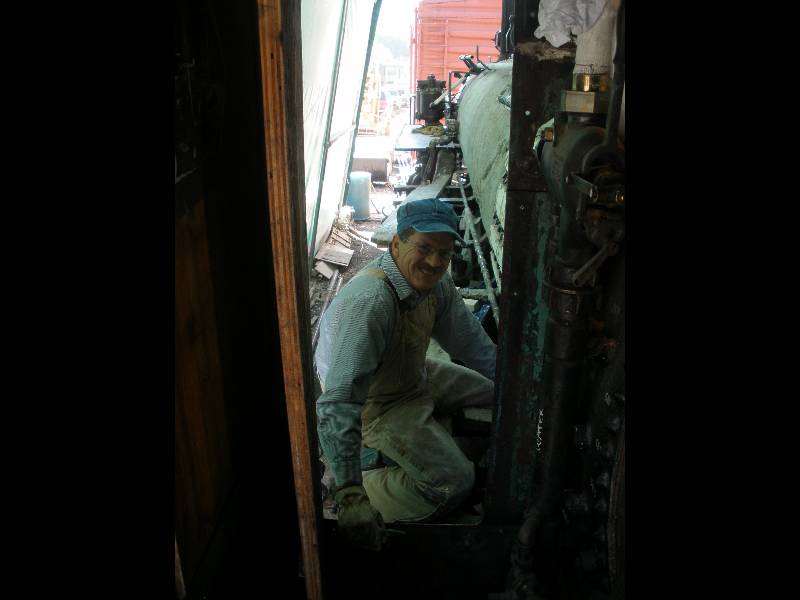
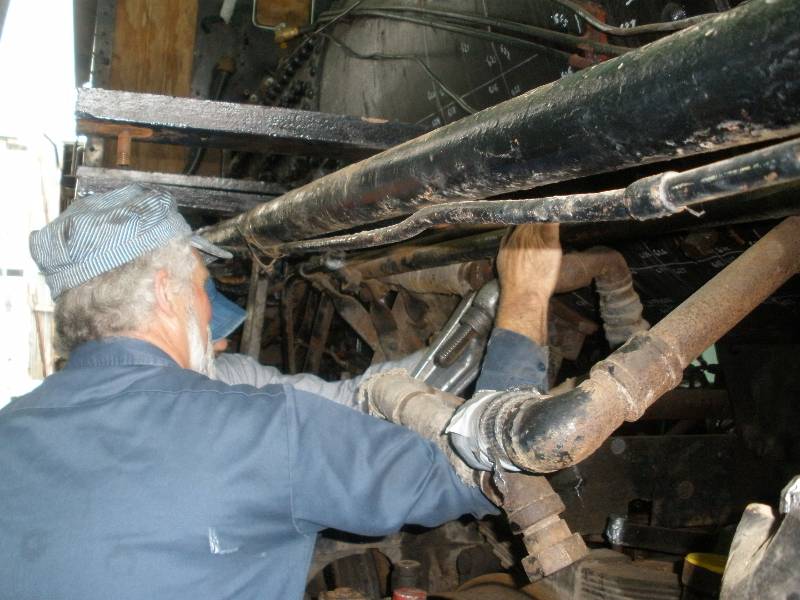
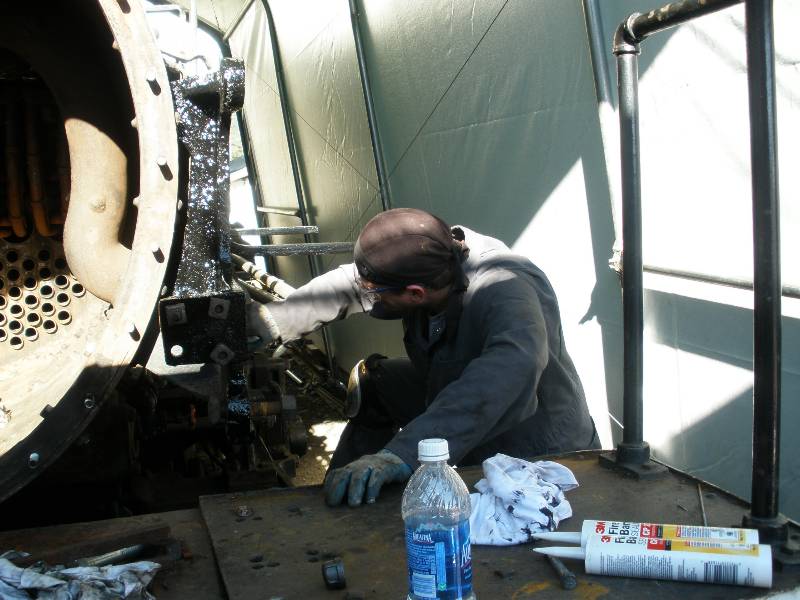
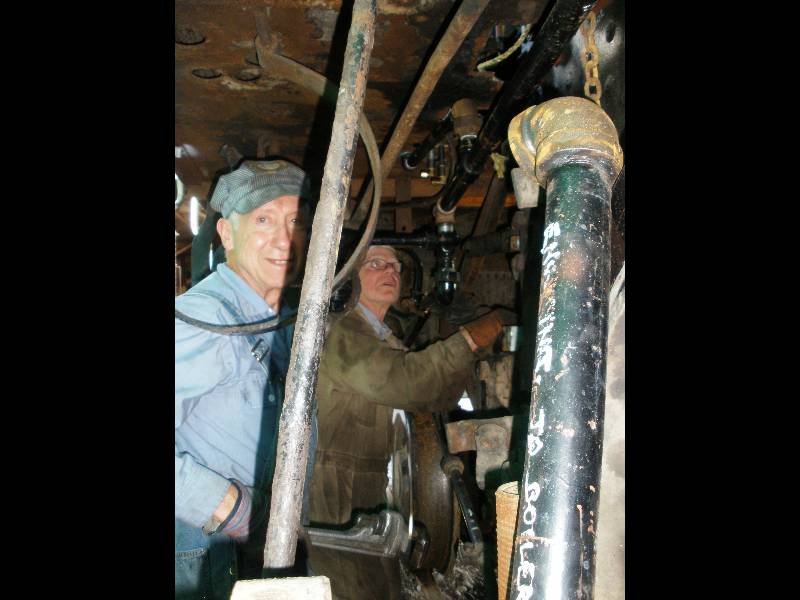
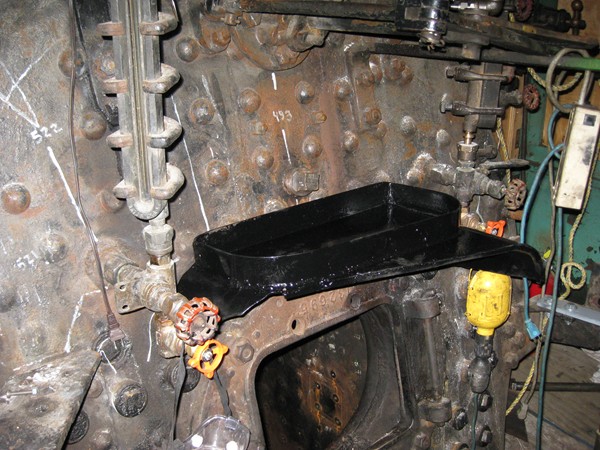
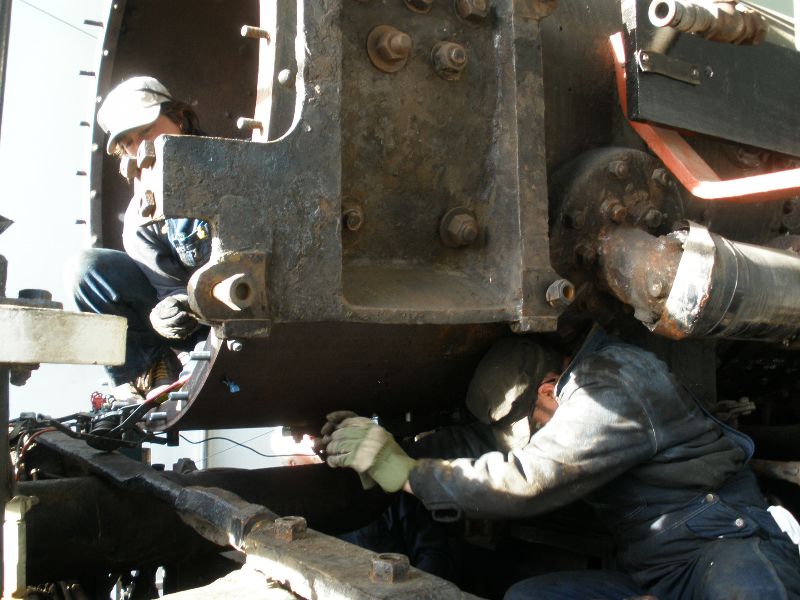
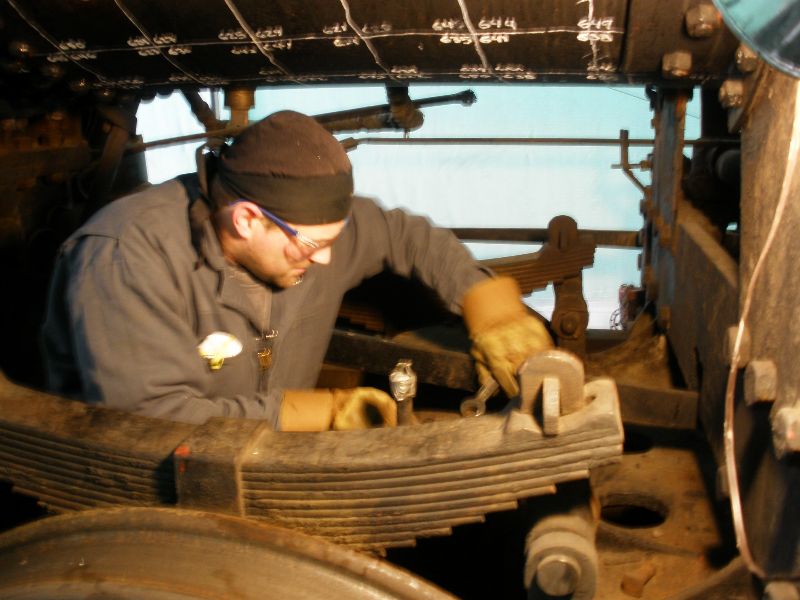
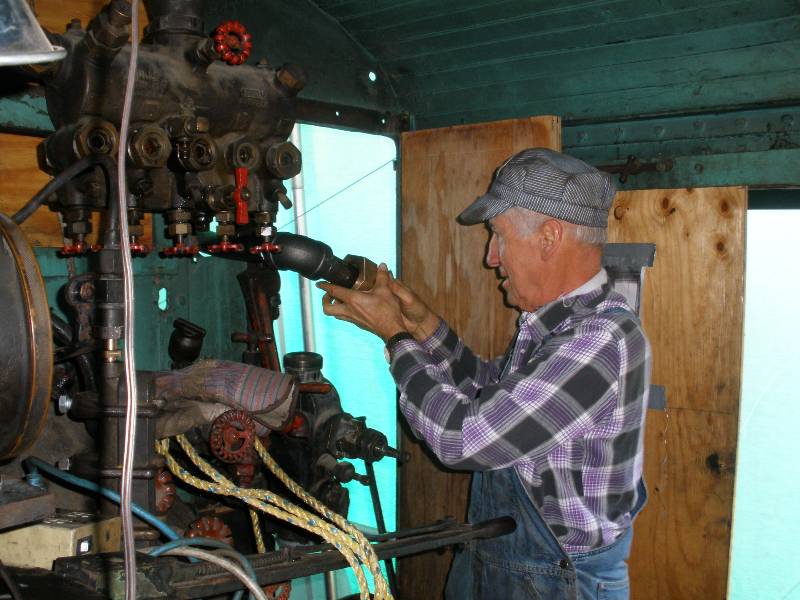
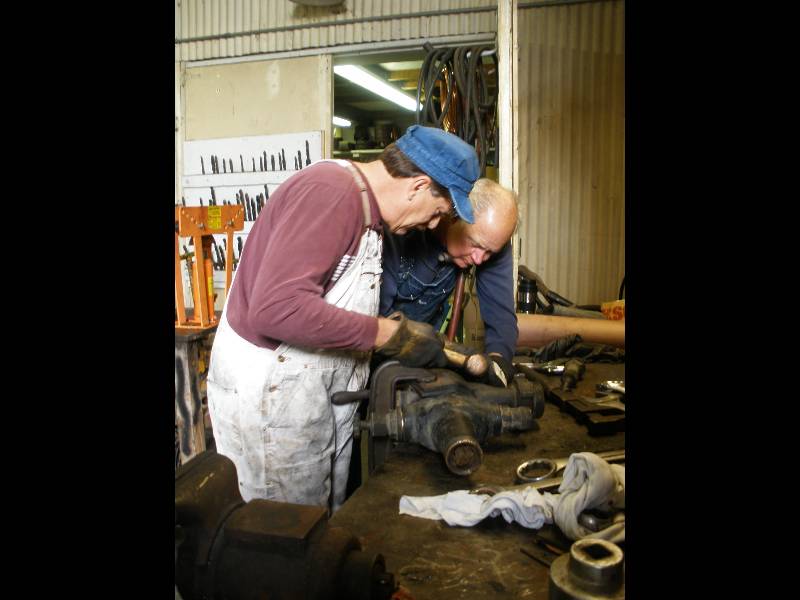
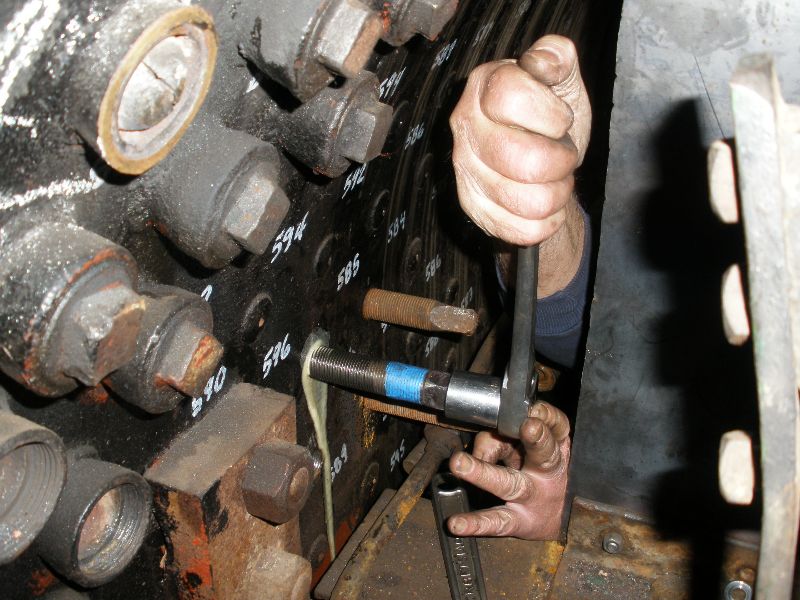
Henry making some "fine" adjustments in preparation for some piping repair. Gerald and Henry tightening up a leaky injector line pipe. | |||
We now have a reinstalled and properly working coupler. | |||
Johnathon at work prepping bolts for reinstallation of the rear coupler pocket. The pocket is not original to this engine. When Clover Valley installed it, they did a really poor job. Johnathon tightening the pocket mounting bolts. | |||
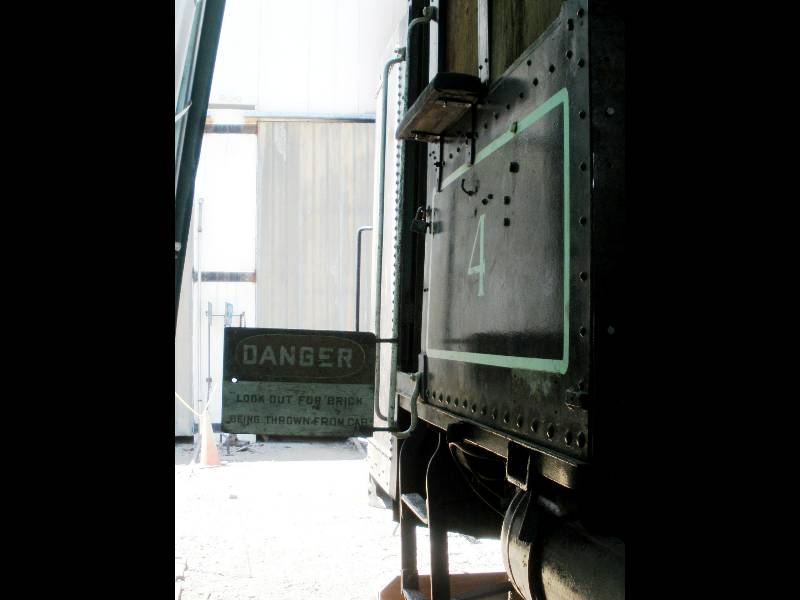
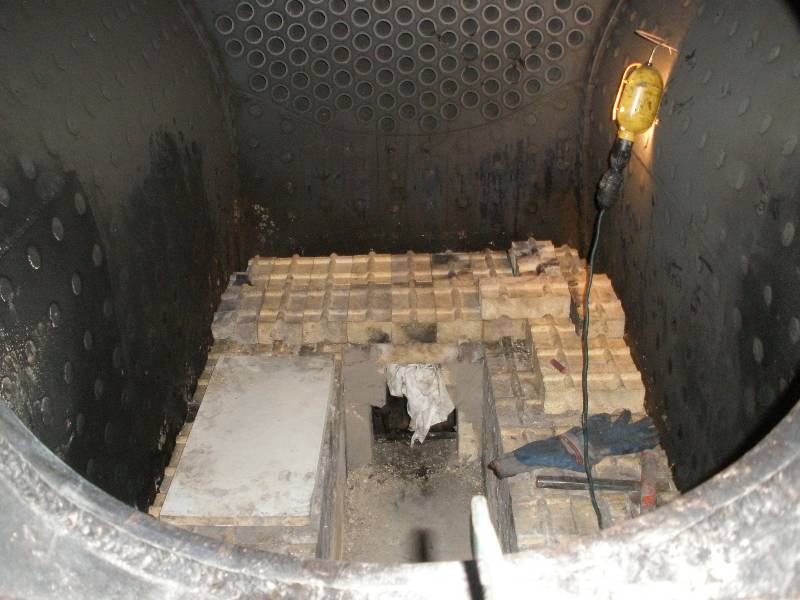
Always look out for flying brick when brickwork is in progress. | |||
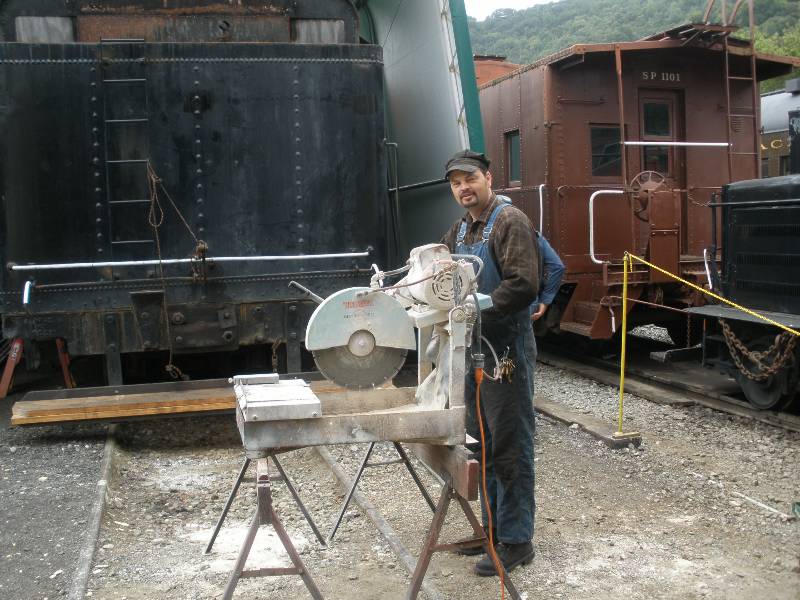
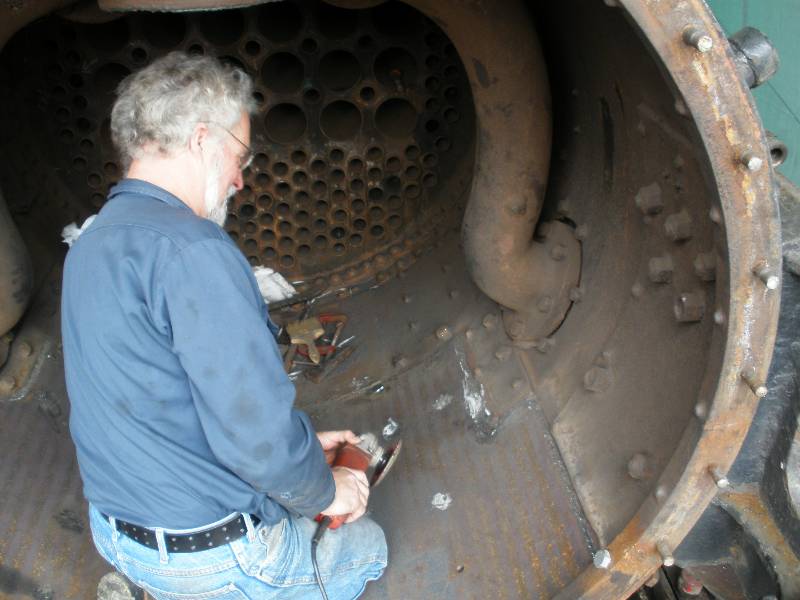
Jeff Waiting with the masonry saw, ready for the next brick to cut. The keyhole firebox on the #4 required a lot of brick cutting and fitting. Gerald setting the flash wall brick. | |||
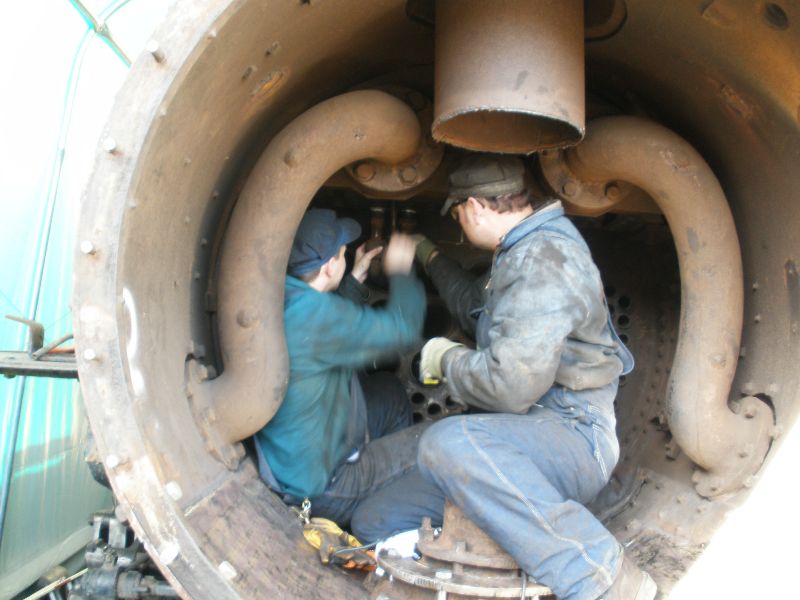
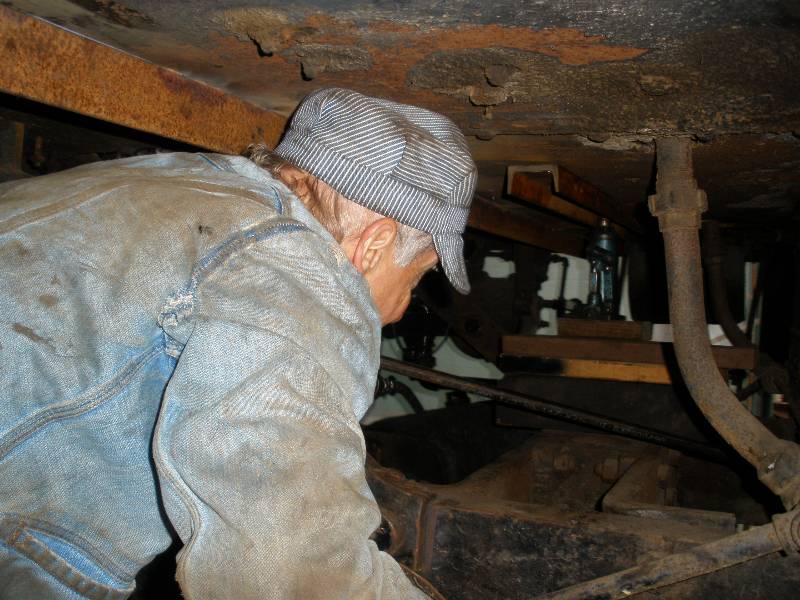
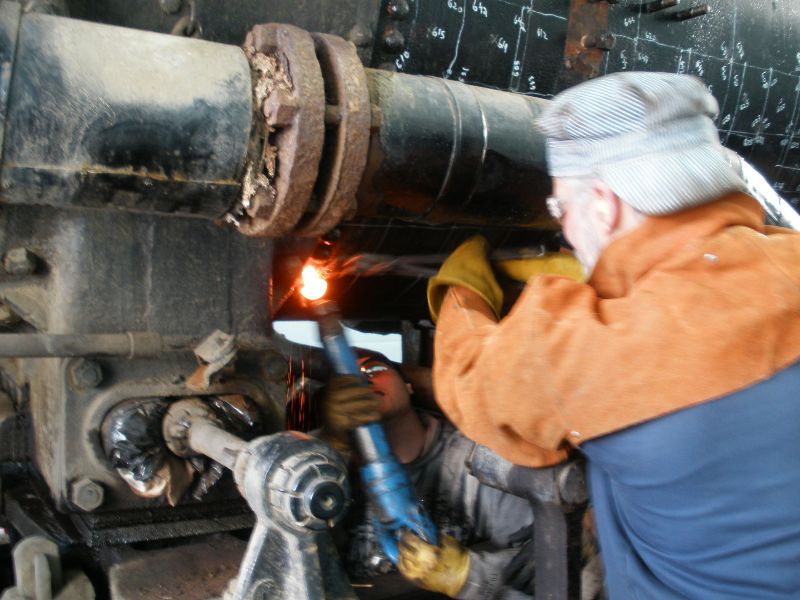
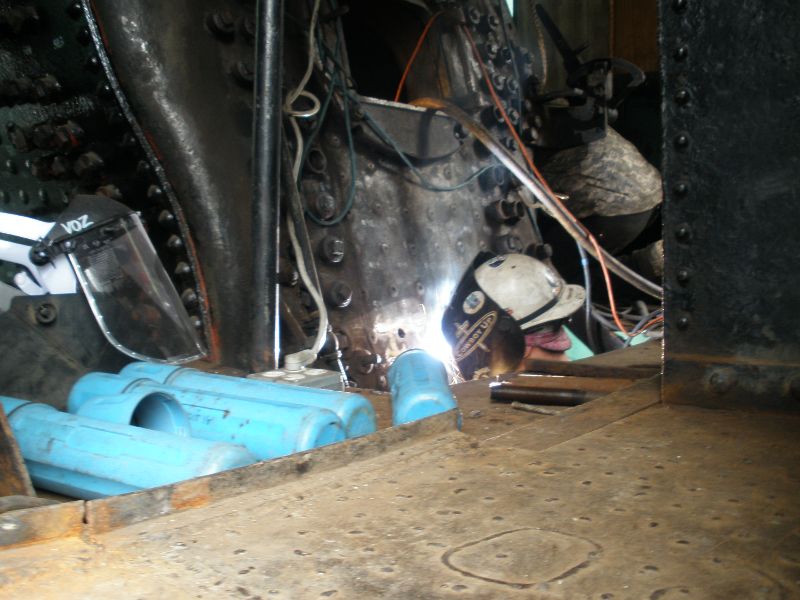
Henry and Gerald working on piping in one of the many tight spaces on the #4. | |||
Not a lot of progress on the brickwork but it looks like everything is ready to go - just need someone to fill those gloves and start working. Dave discovers the reason for the lack of progress - Gerald has not had enough coffee yet. | |||
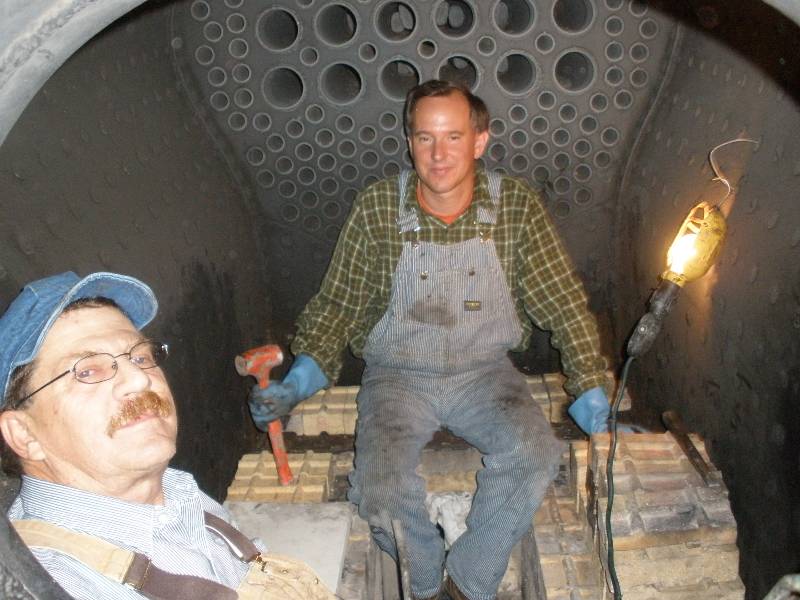
Gerald and Alan take a break from bricking. It was a rainy day outside but they missed the bad weather, spending 5 hours inside the confines of the firebox. Mixing another bucket of firebrick mortar. | |||
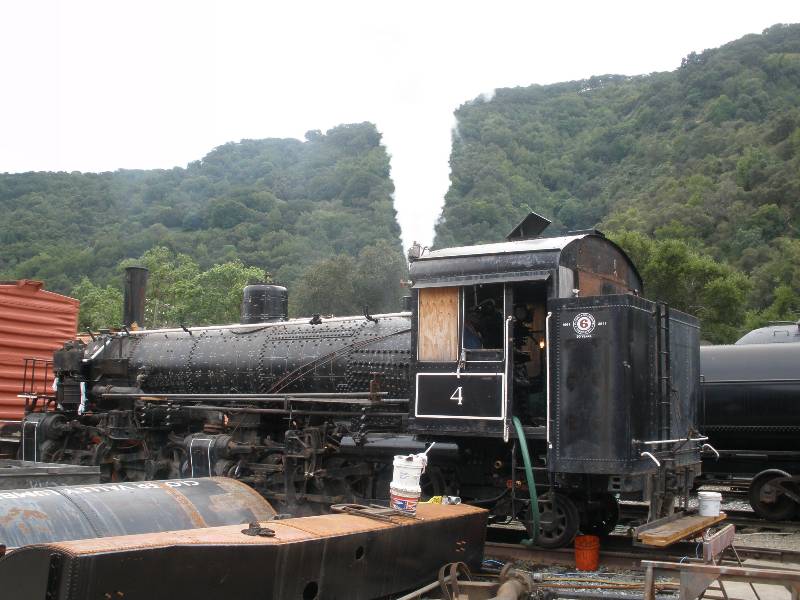
A good steam test today on the Clover Valley #4. We found a few things we need to fix such as valves that need to be relapped, some leaky flexible caps that did not leak under a hydro and leaky piping but overall we were all smiles after the day. Thank goodness this hurdle is over, on to finishing the locomotive to put her back in service. | |||
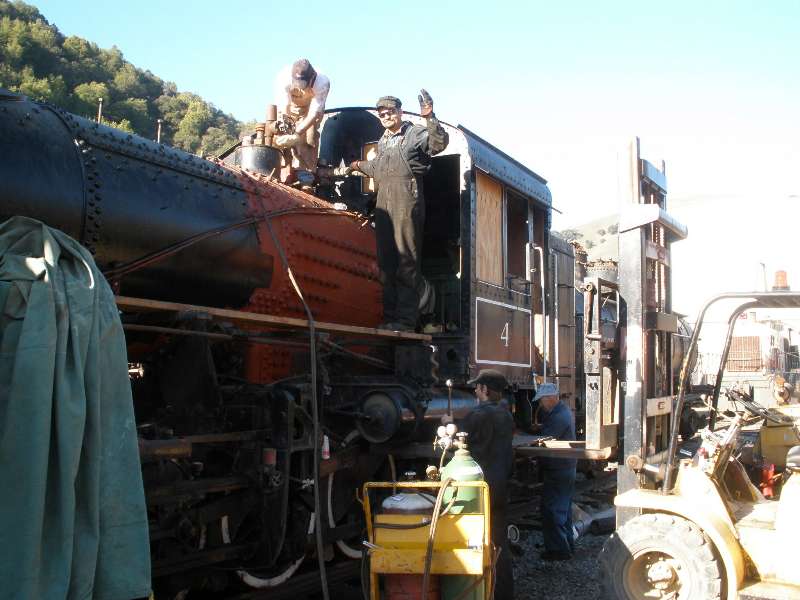
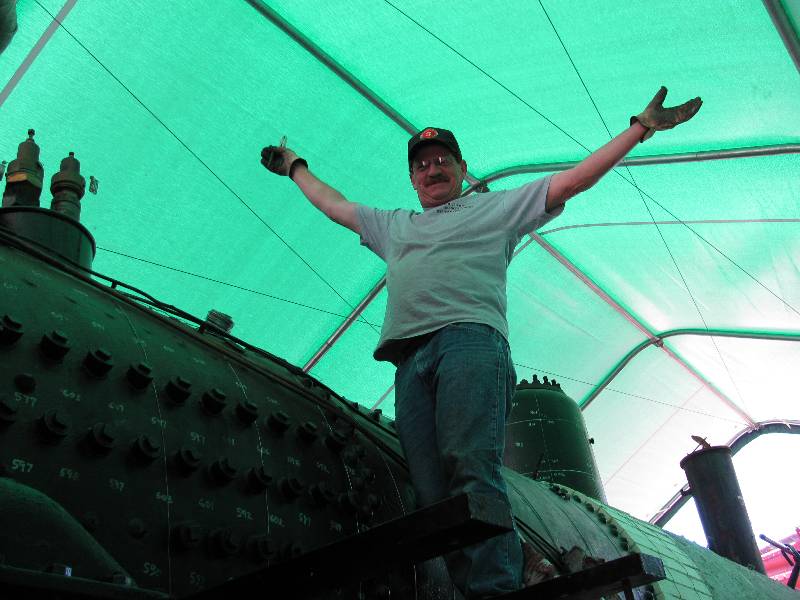
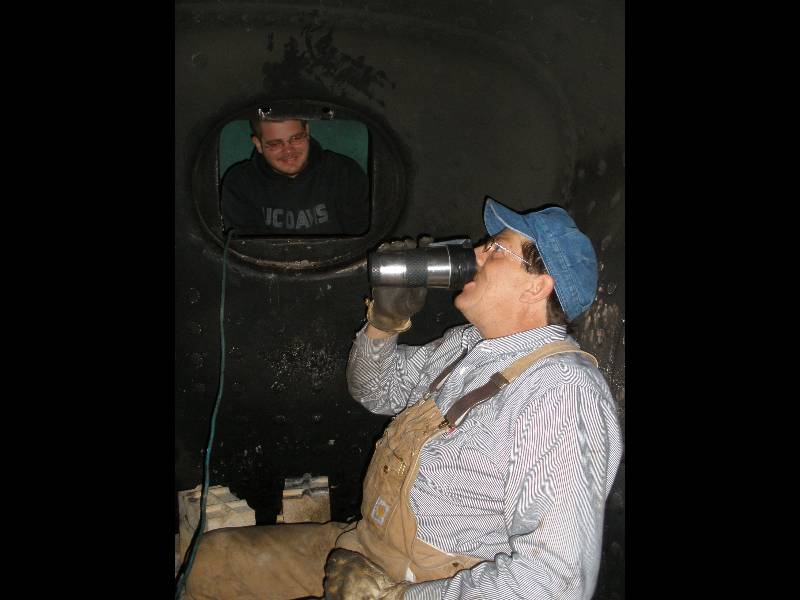
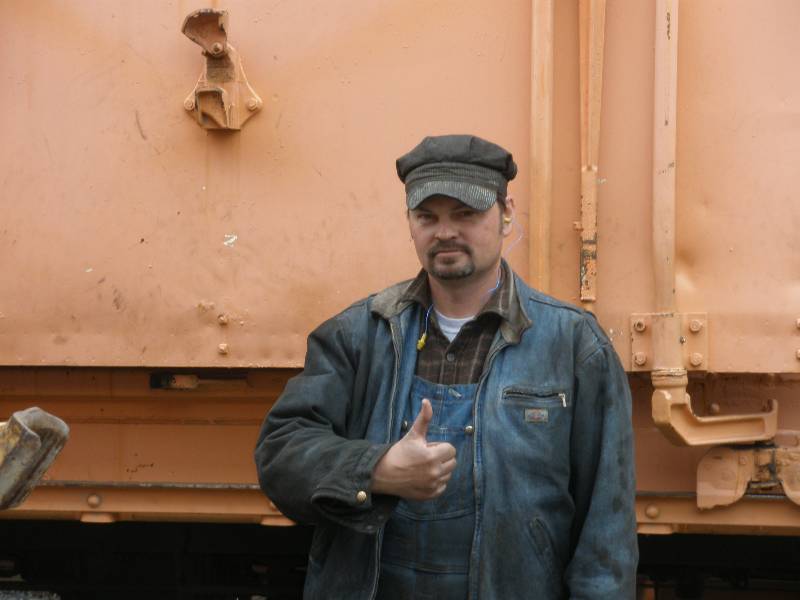
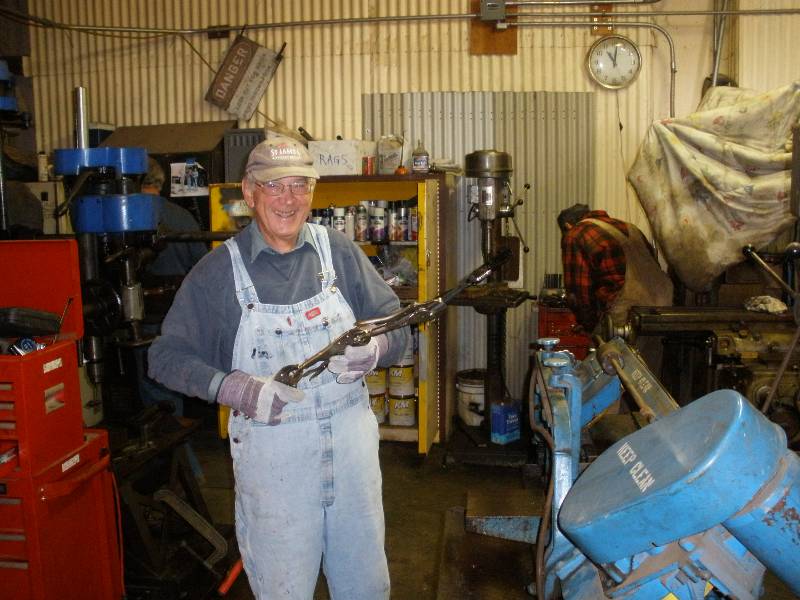
Jeff's thumbs up says it all. | |||
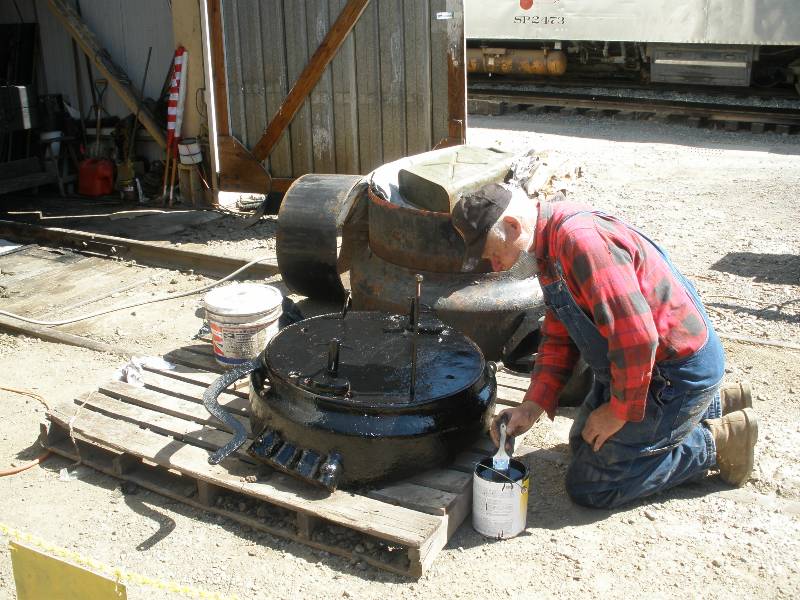
Pam insulating the air compressor steam feed line. Test fitting the new builders plates donated by George Lavacot. They will look great once we permanently mount them. | |||
Jeff showing Gerald how to lap the throttle. One scary group of volunteers! | |||
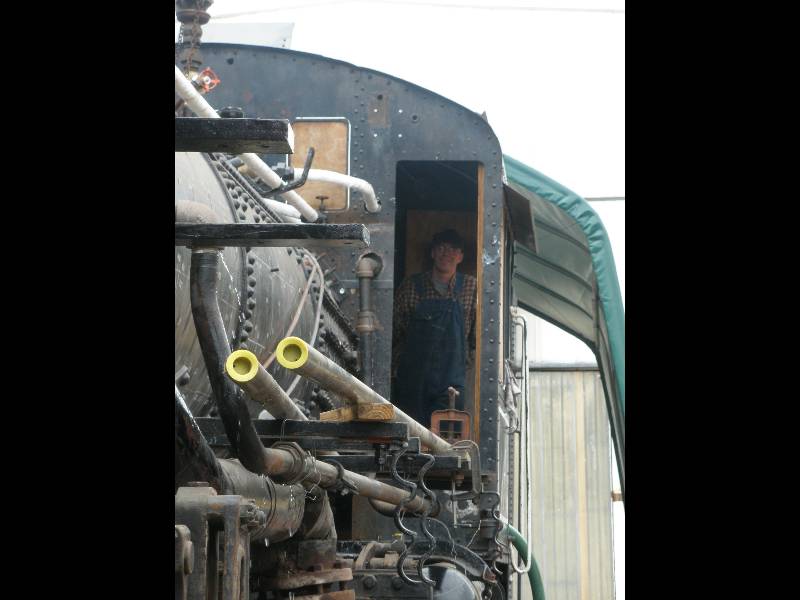
Errol taking it easy on a "comfortable" folding chair while supervising. It is good to have him back , we have missed him. Jeff (who volunteers at the Orange Empire Railway Museum) spending a few hours of his northern California visit. | |||
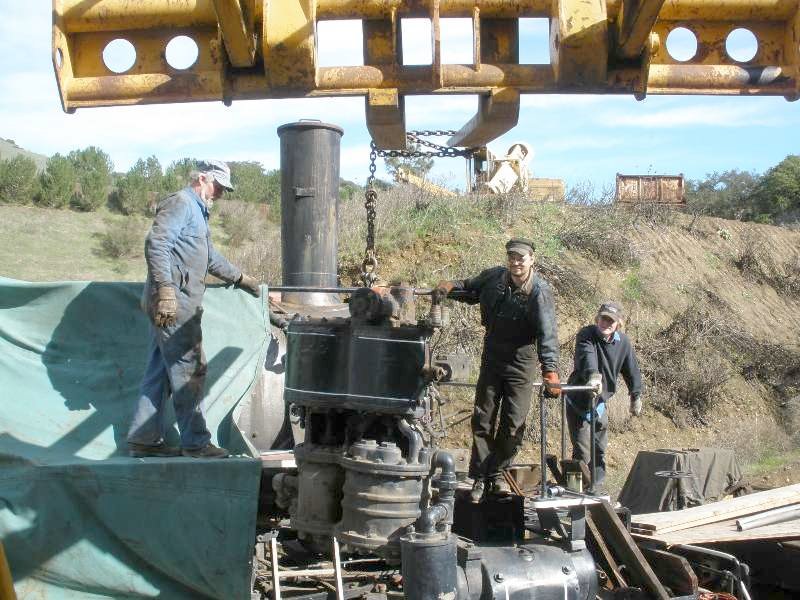
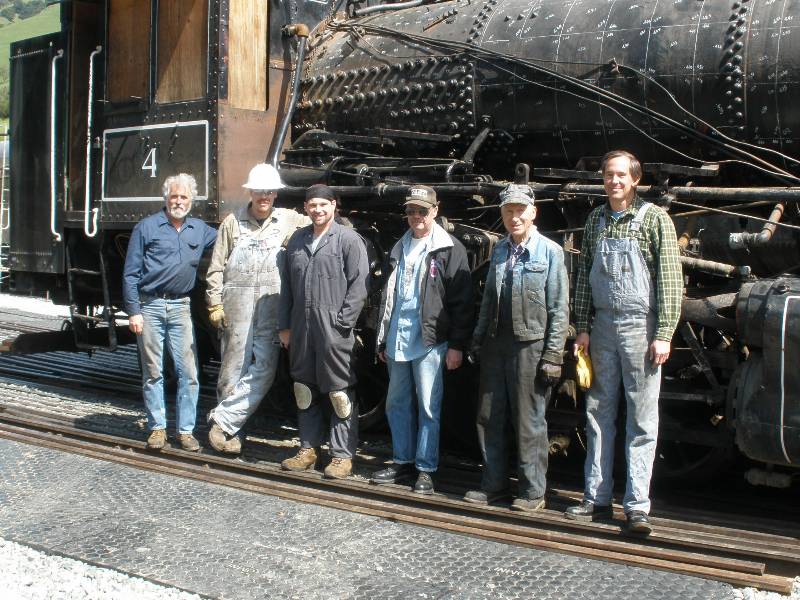
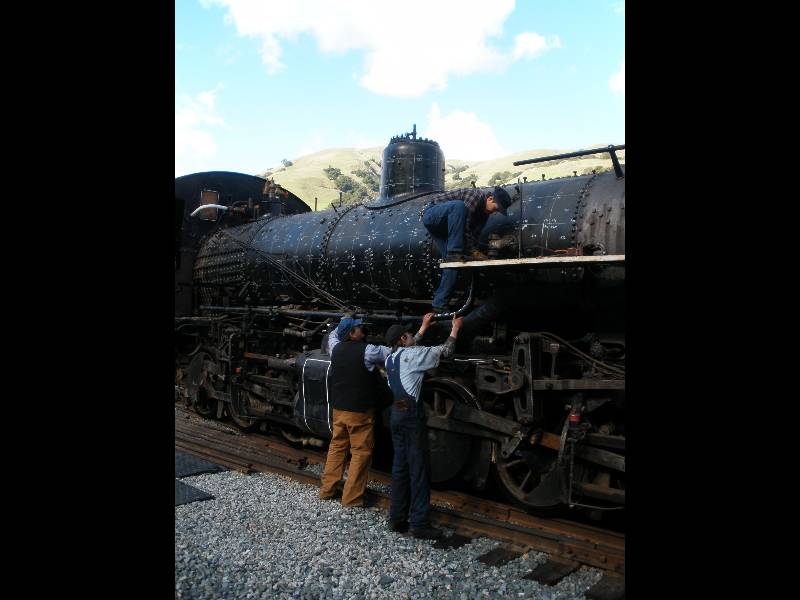
A bunch of help involved in mounting the air tank on the engineer's side. Pam, Henry (on the lift), Scott and Chris. A group volunteer photo for April 9th. Henry, Jeff, Scott, Chris, Alan and Pam behind the camera. | |||
Front end work with Scott and Jeff. Pam painting the piping in the cab. | |||
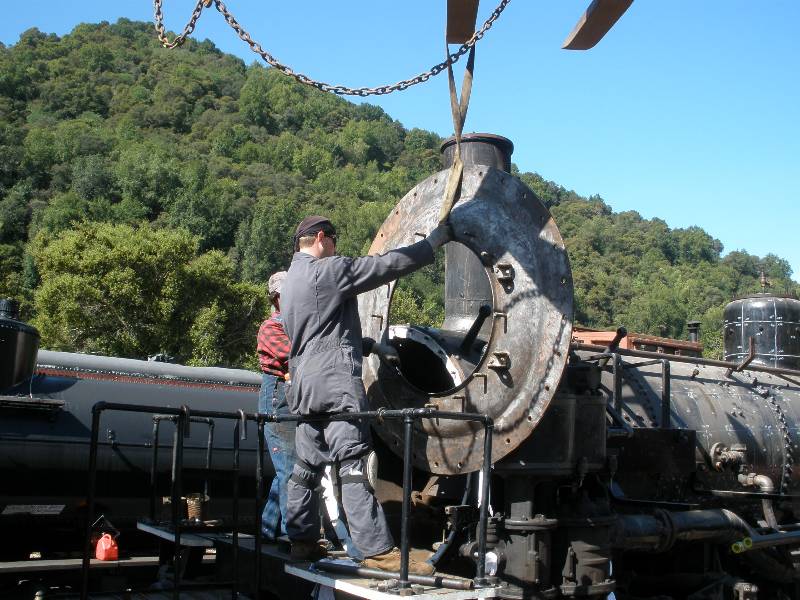
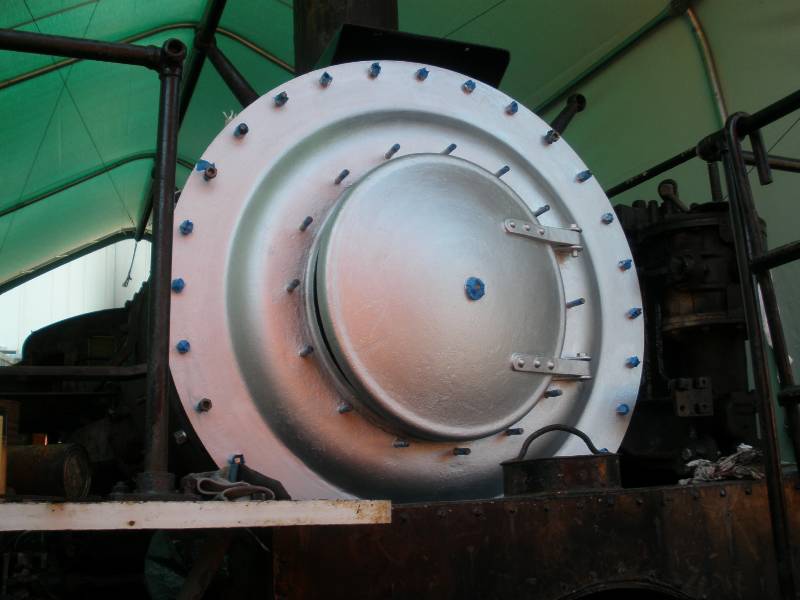
Final picture of the newly repaired smokebox, new petticoat and blower ring before the smokebox front is installed. Pam and Scott preparing the front end for the smokebox front to be installed. | |||
Pam and Scott guide the front end into place. Jeff watches while Chris and Scott muscle the front end. | |||
Henry tightening his new air tank bracket built for the fireman's side air tank. The new bracket is mounted off of a cab support rather than from the cab floor which cause it to sag. Completed and painted front end. | |||
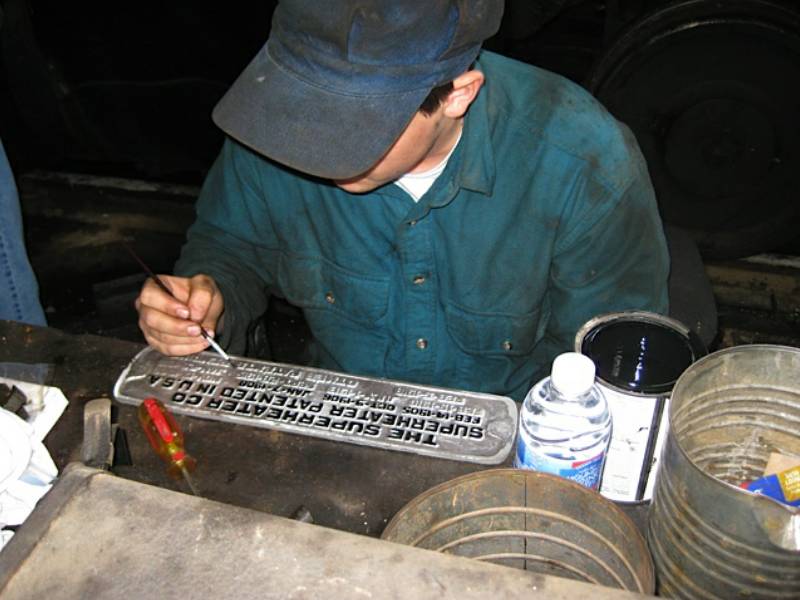
Charlie was caught dressing up the superheater plate. | |||
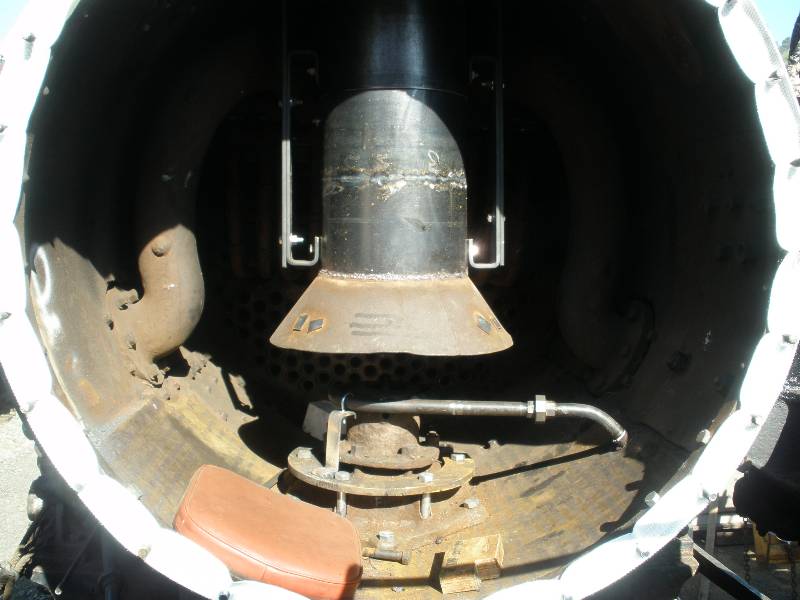
Finally, the new blower ring and petticoat were installed. | |||
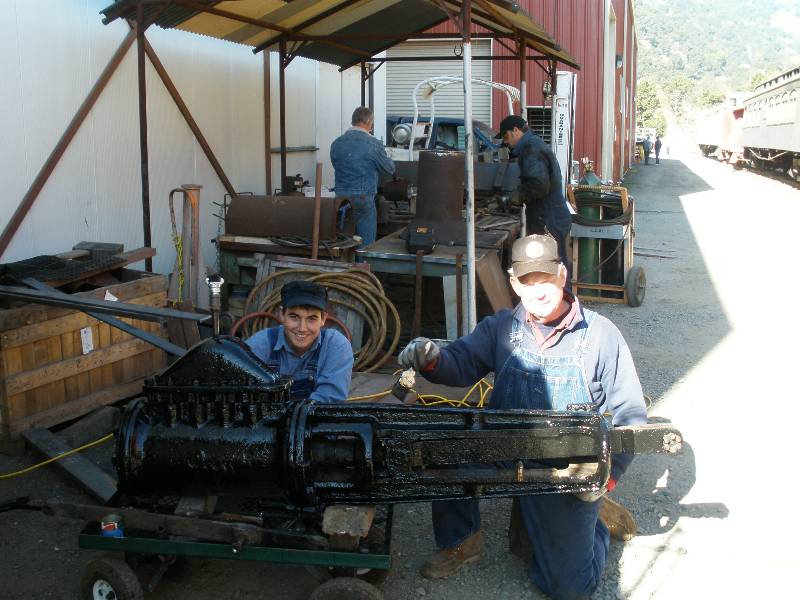
While Alan was busy getting his hand stuck in the #4's throttle, Henry fabricates a new air tank bracket. | |||
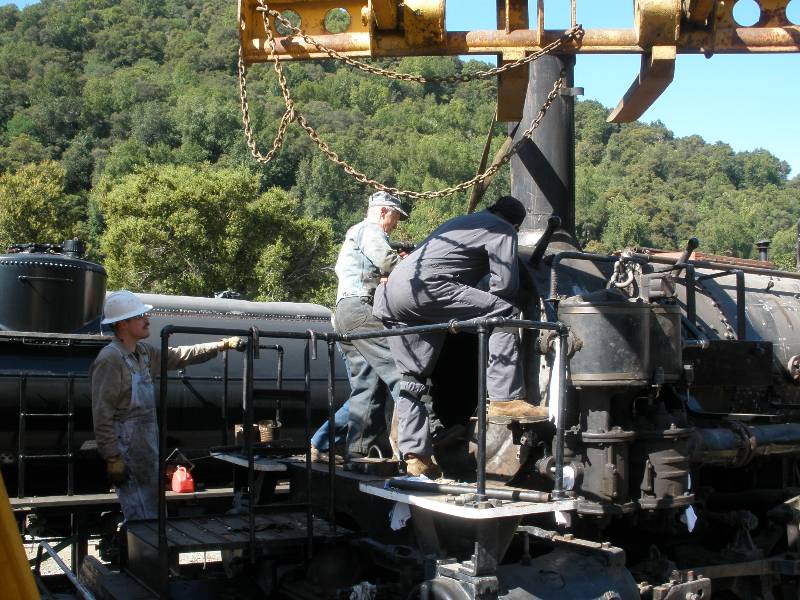
Charlie, Gerald and CJ reinstalling the power reverse. Considering the difficulty we had taking it off the #4, this was a welcome easy job and the bolts almost slid into place. | |||
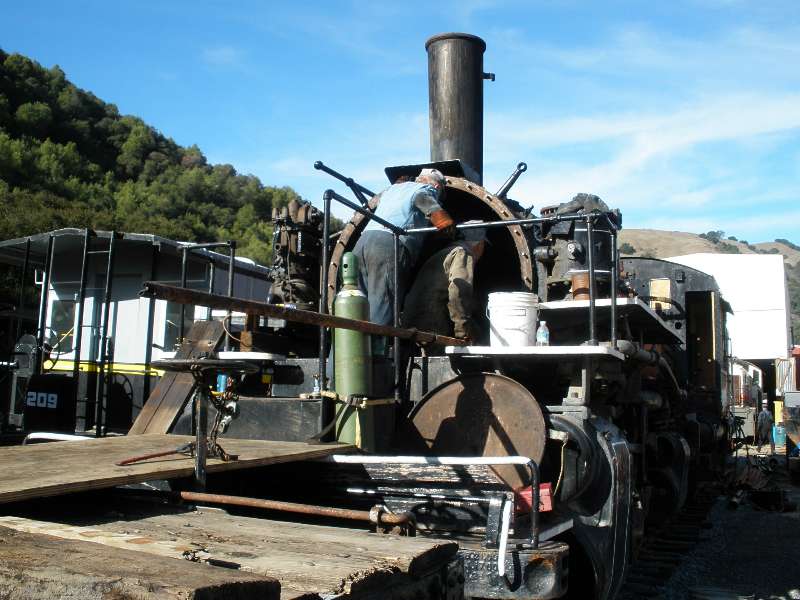
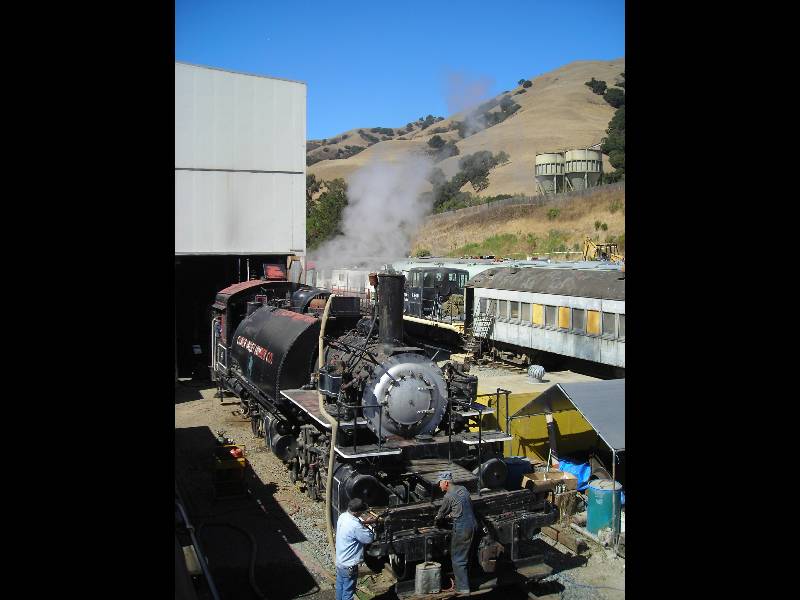
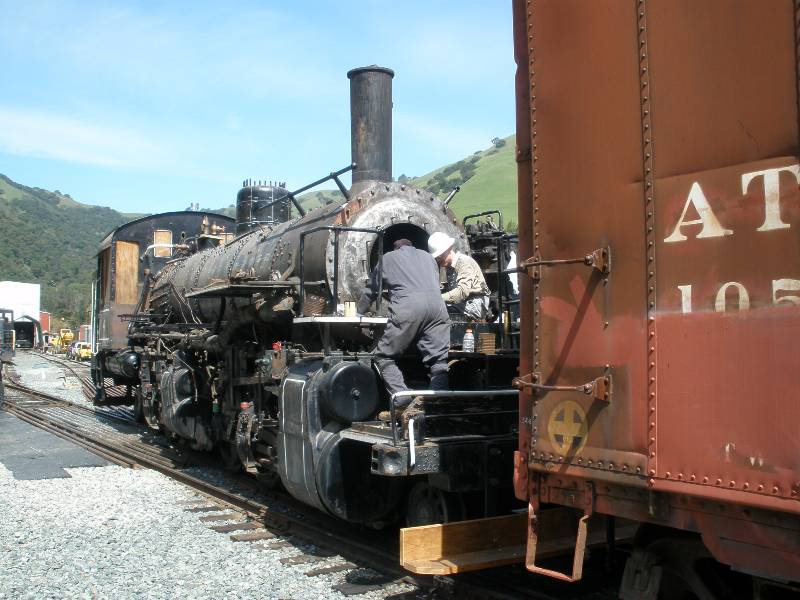
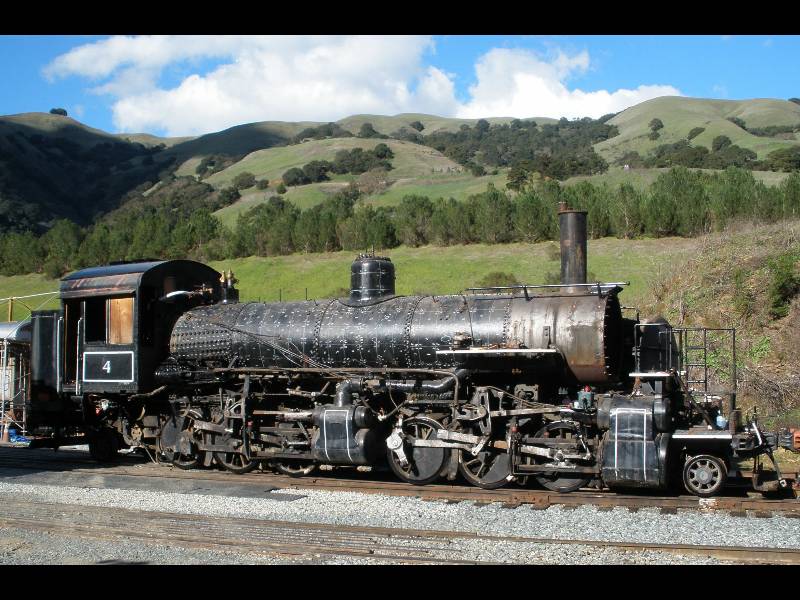
Number 4 basking in the February sun. | |||
Dave doing some final cleanup on the power revers guides. Scott, Gerald and Charlie rigging up the power reverse. | |||
A couple wees work by Henry, Jeff, Joe, Jim and others resulted in a rebuilt petticoat and new adjusting brackets. Jim and Henry mounting the petticoat in the smokebox. | |||
Our blacksmith Joe Mann made new adjusting brackets for the petticoat. The old ones were welded into the smokebox and adjustment was impossible. | |||
There is no better way to force work to be completed than locking Alan in the firebox until he finishes the Form 4 Documentation. | |||
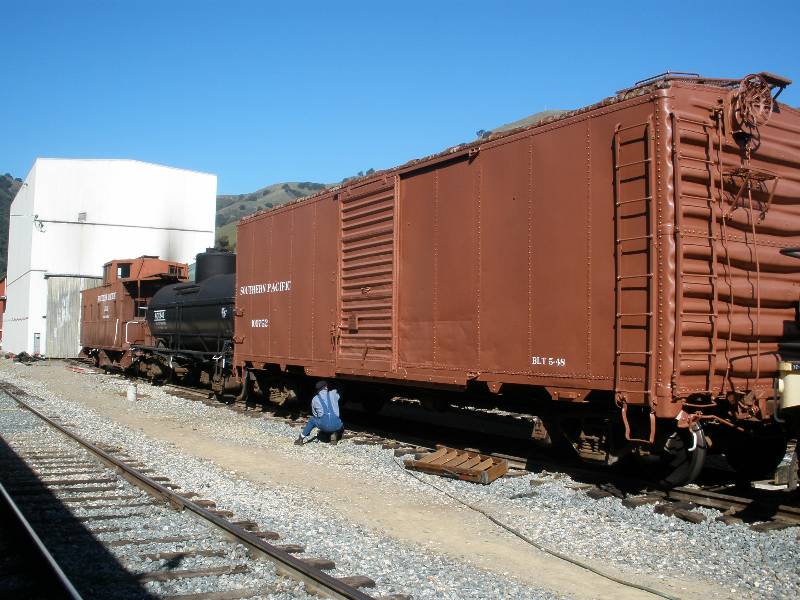
C.J. and Johnathon making a new air gauge support. Charlie changing the brake valve on our SP boxcar in preparation for the March 13th Photographers Special. | |||
Scott cleans and paints the air pump bracket. Charlie and Jim finish painting the power reverse. In the background, Henry and Jeff work on making new brackets for the petticoat. | |||
Another project completed - the superheaters all reinstalled and tightened. | |||
Gerald and Pam work on cleaning all the caked grease and grime off the power reverse. Chris and Les working on piping in the cab. | |||
We removed the old air pump plumbing from th top of the smokebox and were able to get the last row of superheater elements installed. | |||
The backhead shelf was painted and then installed in addition to finishing the piping for the whistle. | |||
Jim, Pam and Henry working on the superheater units. Dave Loyola inside the smokebox installing additional sealer around the branch pipe packing. | |||
Henry carefully applies a new superheater clamp to the tube bundle to replace one of the old burned and rested clamps. A newly installed clamp ready for welding. | |||
Henry welds the clamp together. Alan and Errol tightening up the first row of superheater units. | |||
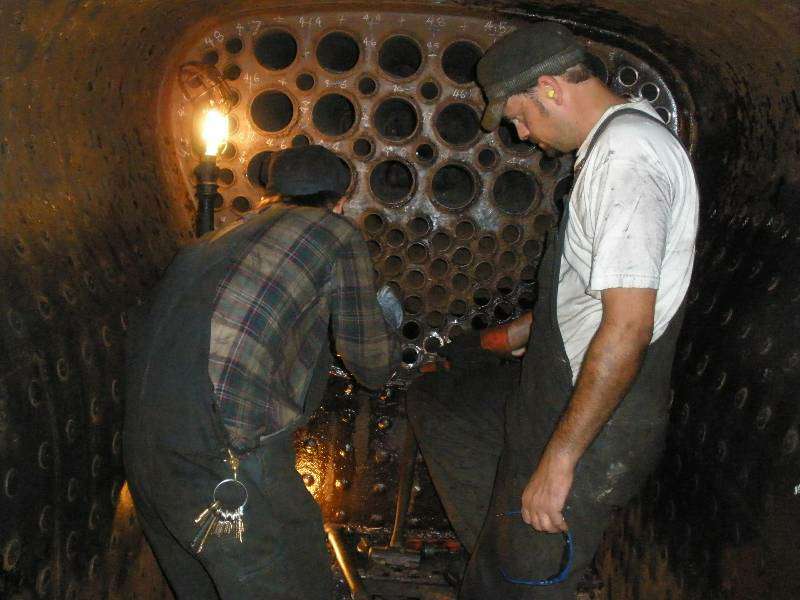
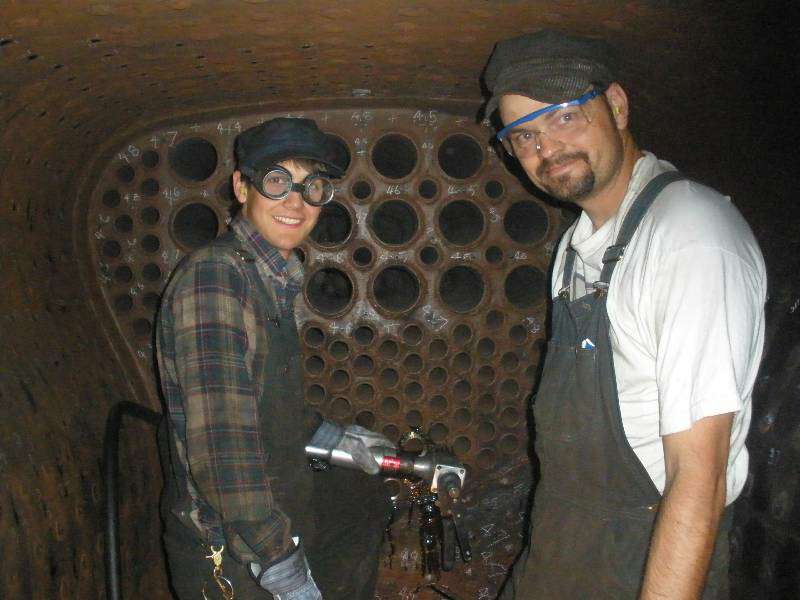
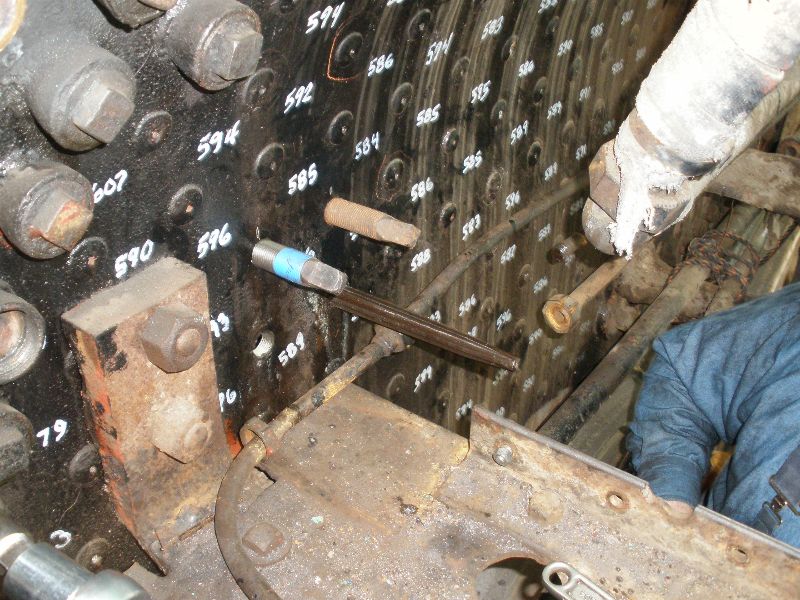
Pam lapping the superheater ball joints which fit into the header. A tight lapped metal to metal joint is necessary on all 36 joints to prevent steam from leaking into the smokebox. C.J., Scott and Charlie in the smokebox muscle a 15' superheater unit into the smokebox. | |||
Jeff "The Inspector" is on site in the smokebox to check Charlie's work. Charlie Lapping the superheater header in preparation for superheater installation. | |||
Henry and Jeff installing the flexible exhaust joint from the low pressure cylinders to the nozzle in the smokebox., Pam, Jeff and Henry (hidden in the background) finishing the nozzle installation. | |||
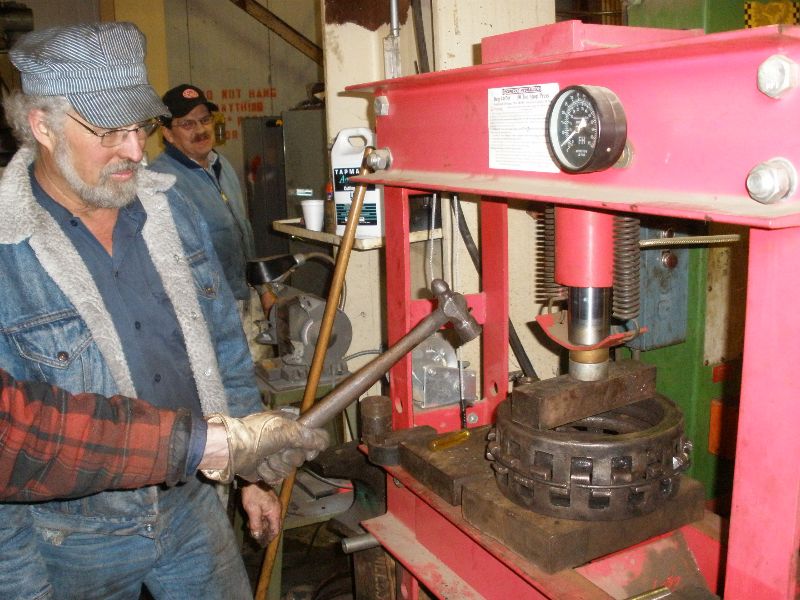
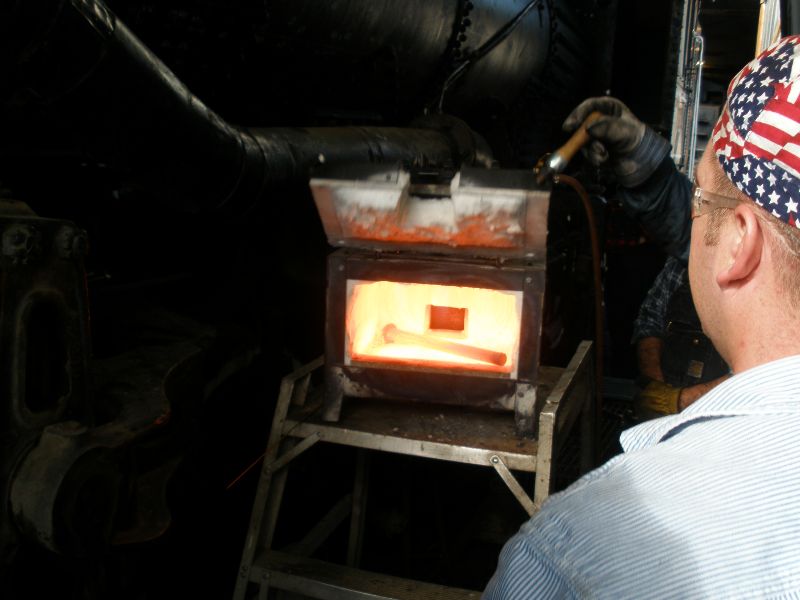
Henry with the reassembled spring and snap ring positioned in the press. Johnathon thinks he can provide help with that dinkey sledge when we are using a 50 ton press. Maybe he should get a bigger hammer!! | |||
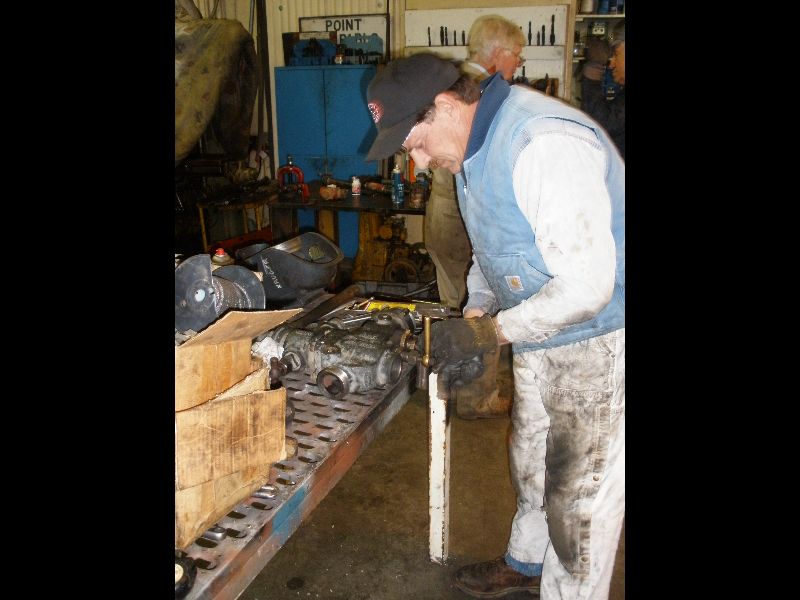
Gerald working rebuilding the injector for the engineer's side of the locomotive. The cleaned underside of the nozzle. The spring pack fits against the inner flat surface and the exhaust pipe seals into the center hole that leads to the nozzle. | |||
The spring pack after about 4 hours of Henry cleaning the nozzle casting to get the pack out. Pam making new gaskets. It sure would be easier if we could just purchase them. | |||
Scott Martel removing the brake cylinder lids in preparation for installing new brake cups. Another one of the locations that are difficult to get to on compact locomotives. Chris and Les working on the brake stand plumbing in the cab. | |||
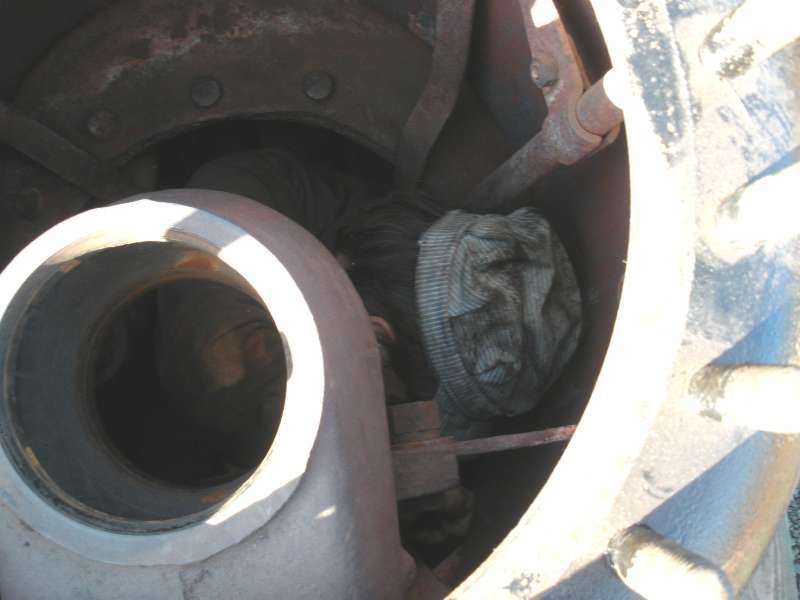
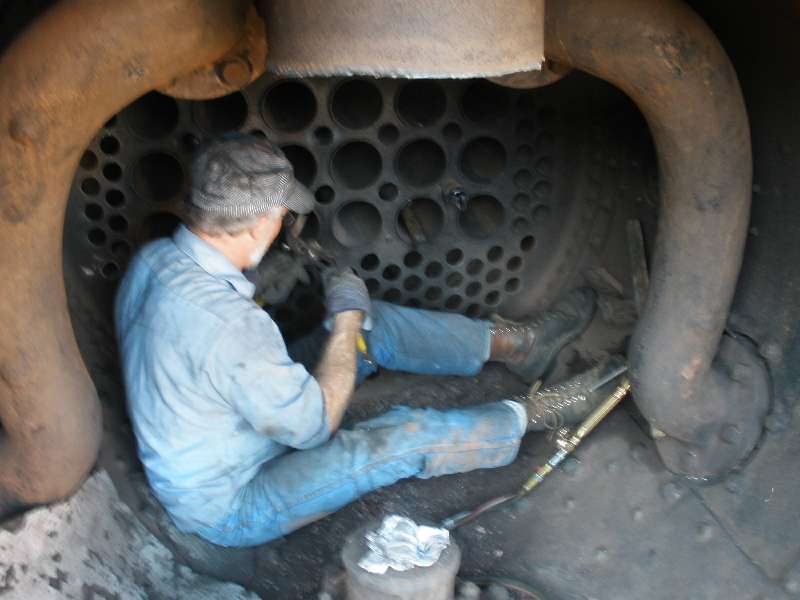
Henry starts cleaning the interior of the exhaust nozzle / flexible steam pipe joint. Pam cleaning the exhaust pipe between the smokebox and front cylinders. Not a great place to work at all. | |||
Henry starts cleaning the interior of the exhaust nozzle / flexible steam pipe joint. | |||
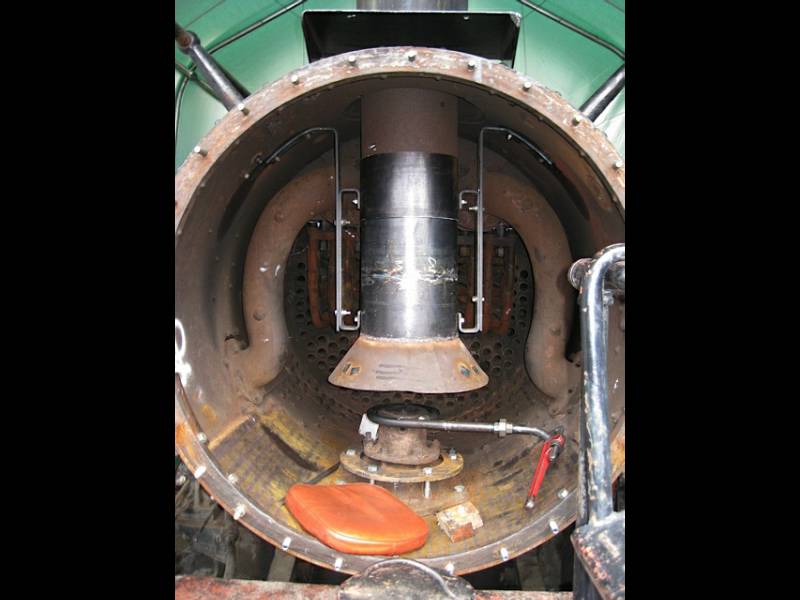
Johnathon was found under the engine working on the blowdown valve. Henry working in the smokebox. The liner is almost welded in place. Next will come the nozzle. | |||
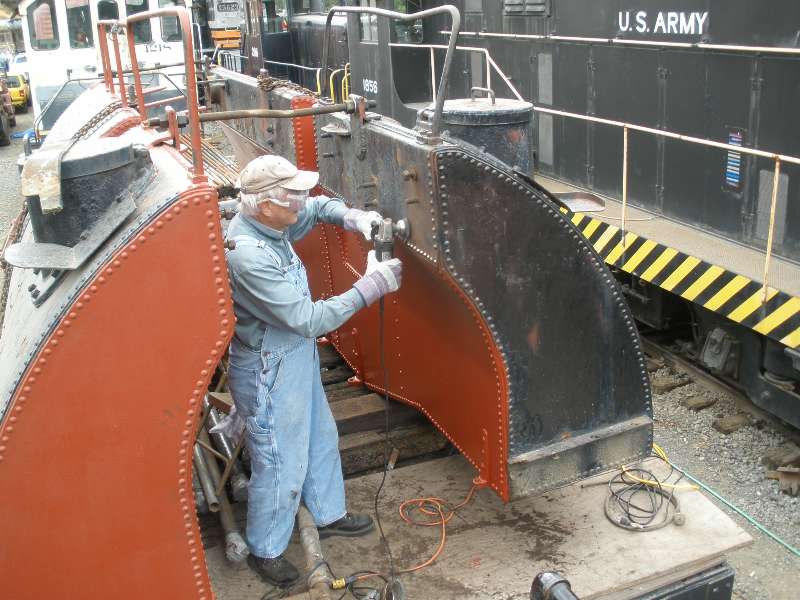
Jeff happily cutting fire brick for Alan. Alan installing fire brick in the pan. Completed brickwork at the end of the night. | |||
Henry welding a bracket for the air brake system. | |||
Chris working on making a new steam supply pipe for the engineer's side injector. All the steam piping in the cab will be replaced by the time we finish. Pam wrapping a steam pipe with insulation. | |||
Pam, Jim, Chris and Henry taking a break while installing the smokebox liner. There are only a few more feet to go. Jim, Henry and Chris admire the installed liner. Now comes a bunch of welding and bolting to tie the plate down in the smokebox. | |||
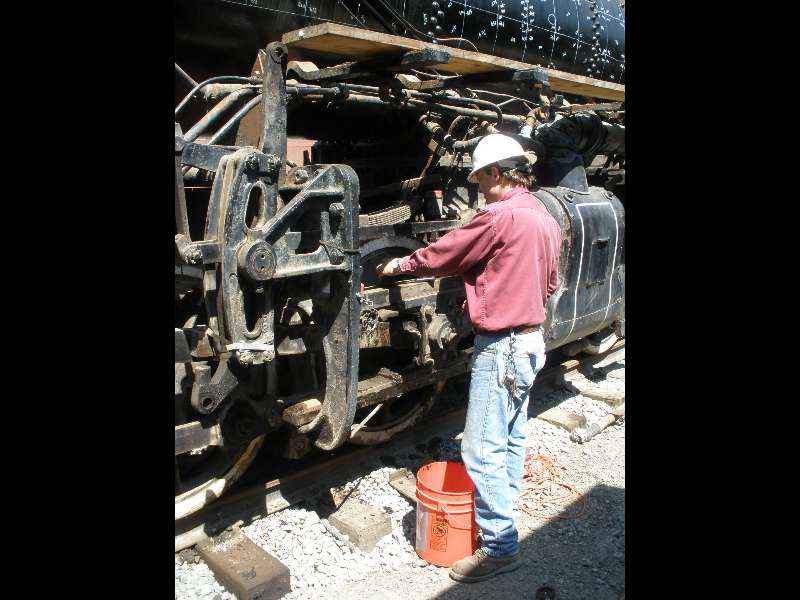
Jim painting running gear. Henry grinding on a new bracket. | |||
The beginning of the brick work in the fire pan. The great mason reaching out of the job site. | |||
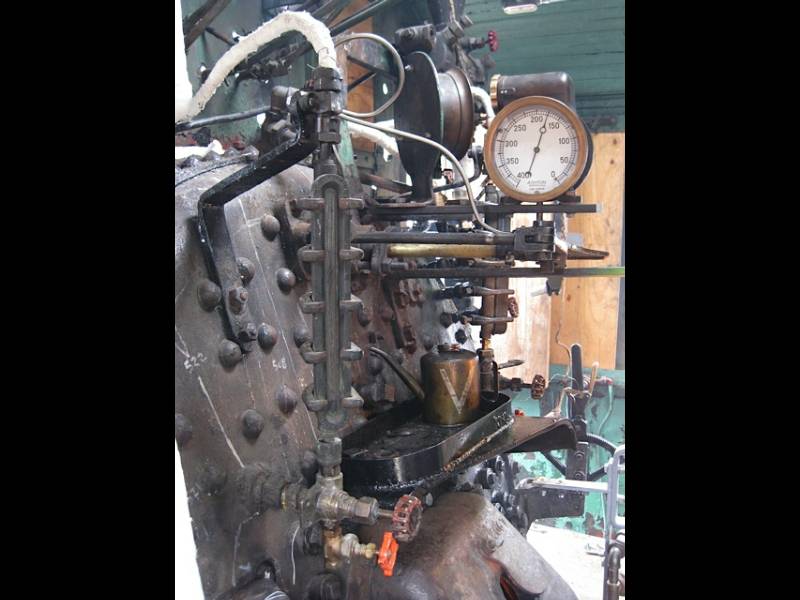
Backhead looking better every workday with piping and appurtances being added. | |||
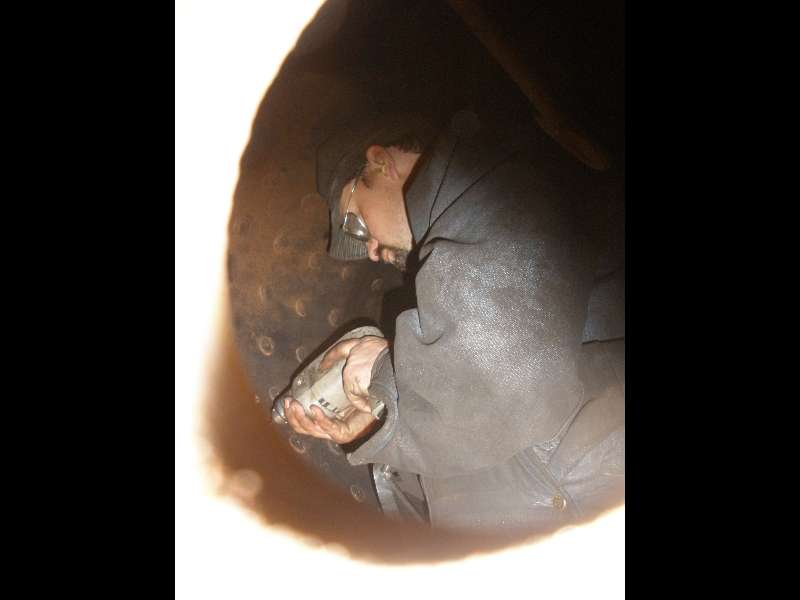
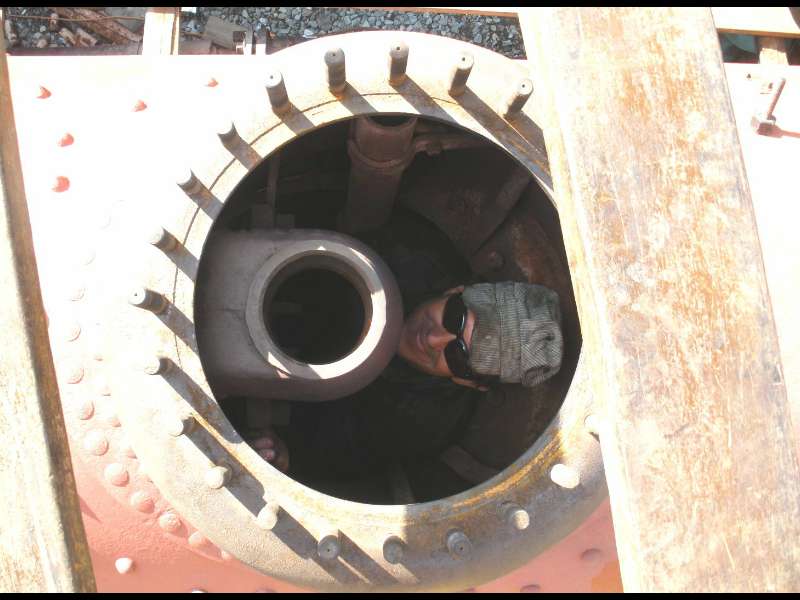
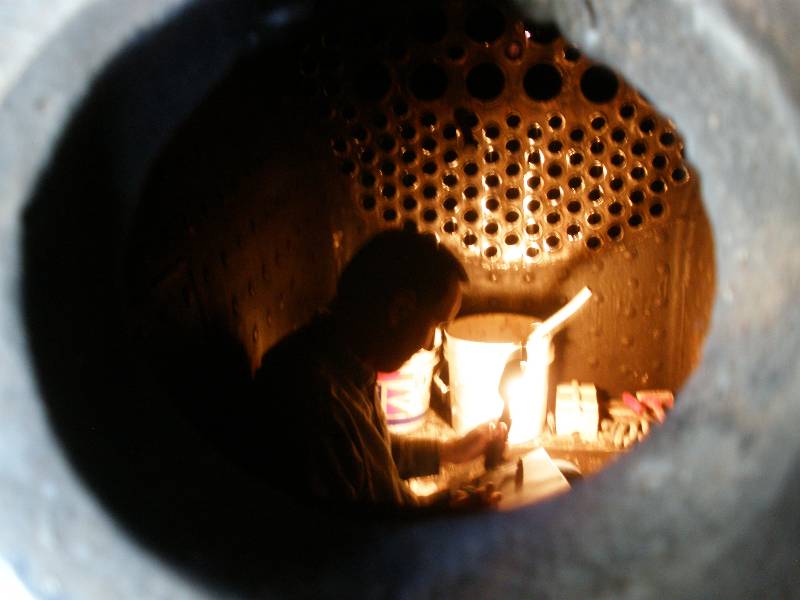
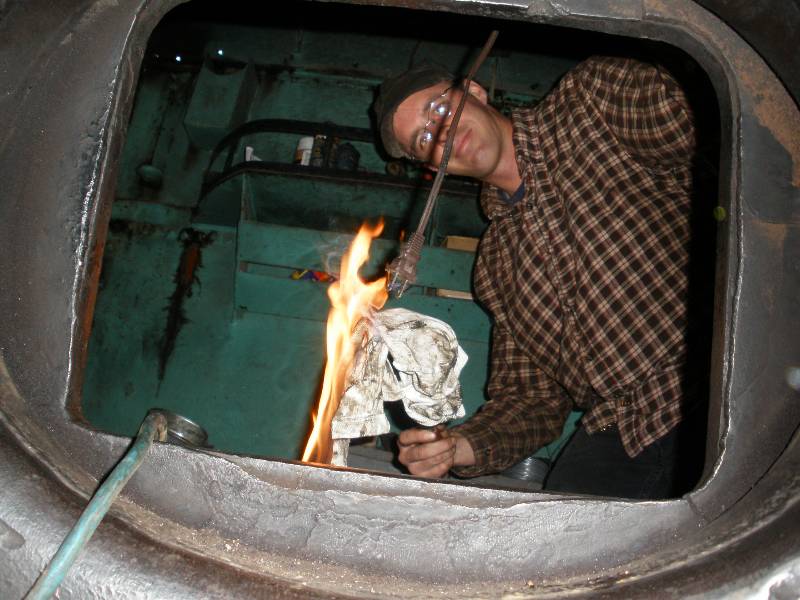
Wait, wait! Not quite ready yet. This is never a good sight when inside the firebox caulking stays. Henry Chandler finishing up on smokebox repairs. | |||
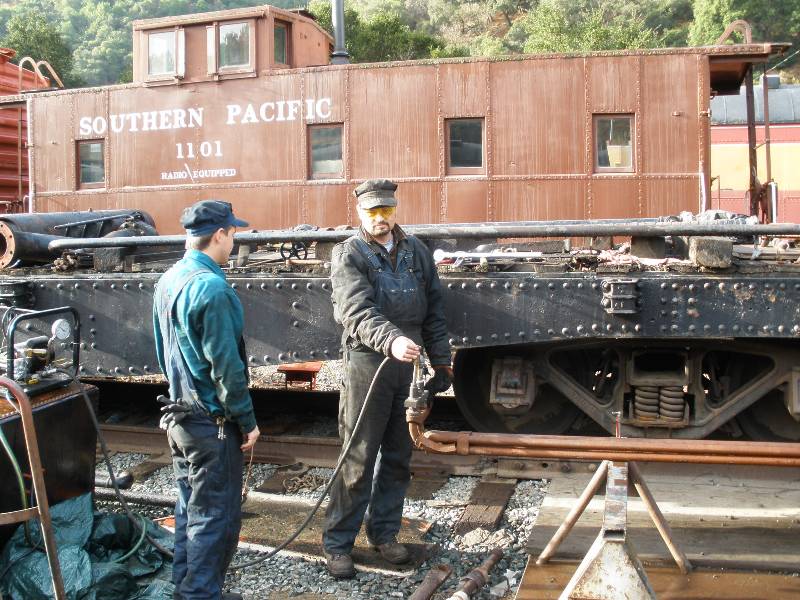
240 pounds of hydrostatic pressure on the gauge!! Kruger looking for leaks with the hydro pump in the foreground. | |||
The mad plumber has moved from the Pettibone to the cab of the number 4. Wild West at Brightside. Gerald holding Jim up with an injector mock up made to arrange brackets and piping. | |||
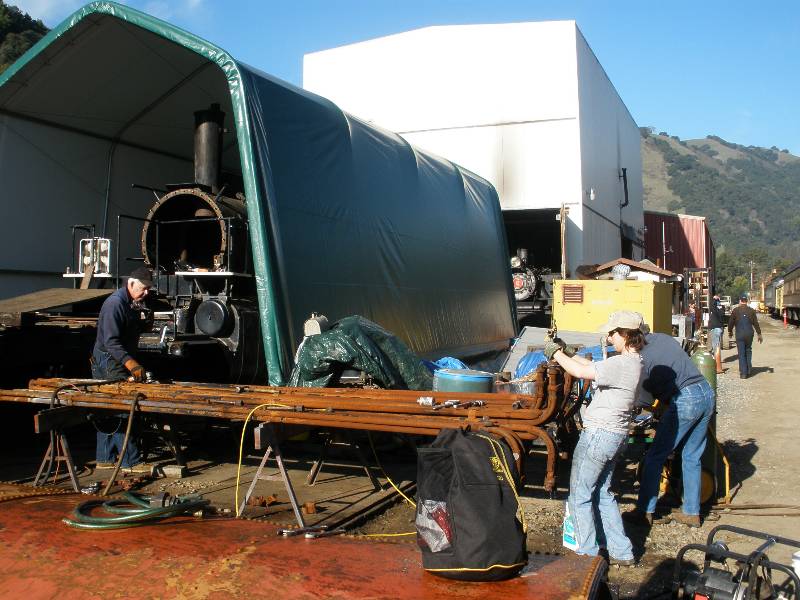
Les running running new piping in the tight confines under the engine. Chris working on piping under the cab floor. | |||
Johnathon working on the pettibone brakes. You can never have enough vice grips! Jim showing off his paint brush extender tool. | |||
Some of the new firing piping running under the new firepan floor. | |||
Jeff and Charlie hydro testing more superheater units. | |||
Johnathon firing the water heater. Using the #2 to heat water in the #4 in preparation for the hydro test. Gerald and Jim working on the fireman's side injector. | |||
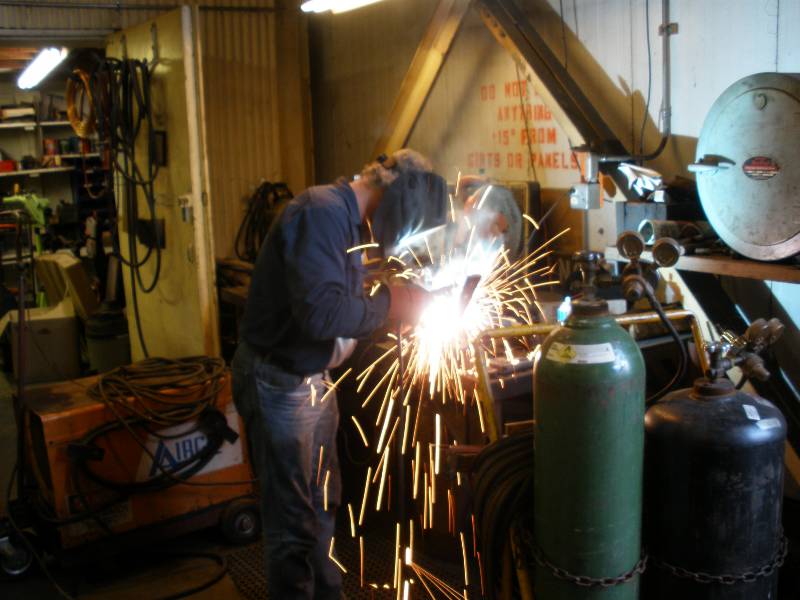
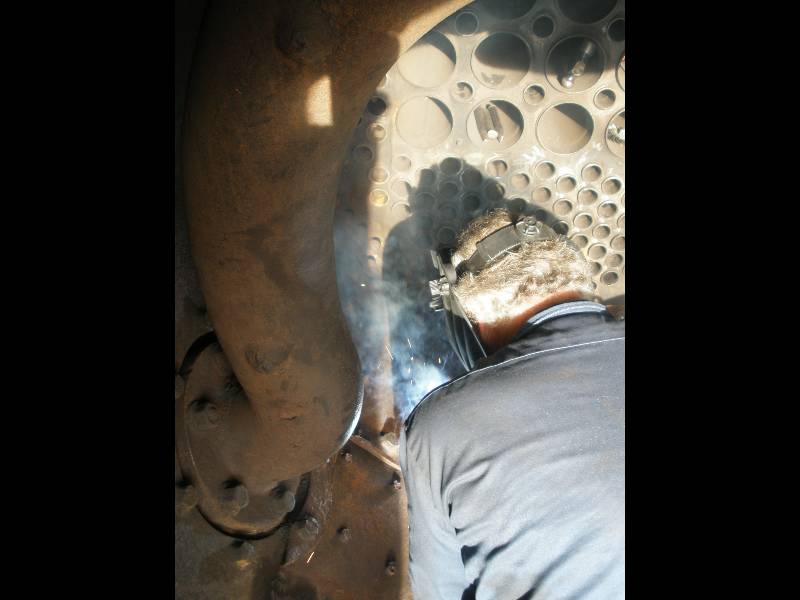
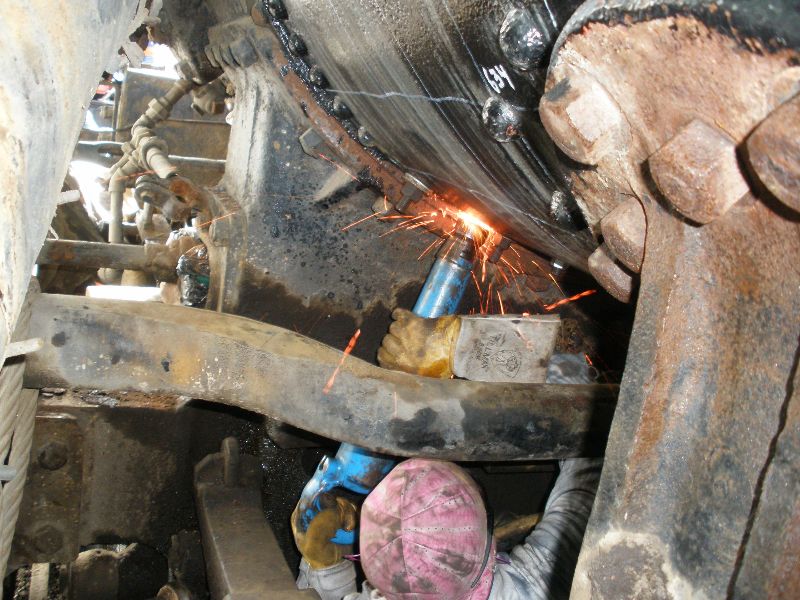
Jeff and Charlie hydro testing superheater units. Henry burning some more rod.. The amount of welding done during the smokebox repair is amazing. We should have bought welding rod by the case. | |||
Backhead piping in progress, with most of the new firing manifold piping complete. It is amazing how much time has been spent laying out and installing this piping. Some of those involved include Les Fisher, Johnathon Kruger, Chris Holombo, Pam Cravens and Alan Siegwarth. | |||
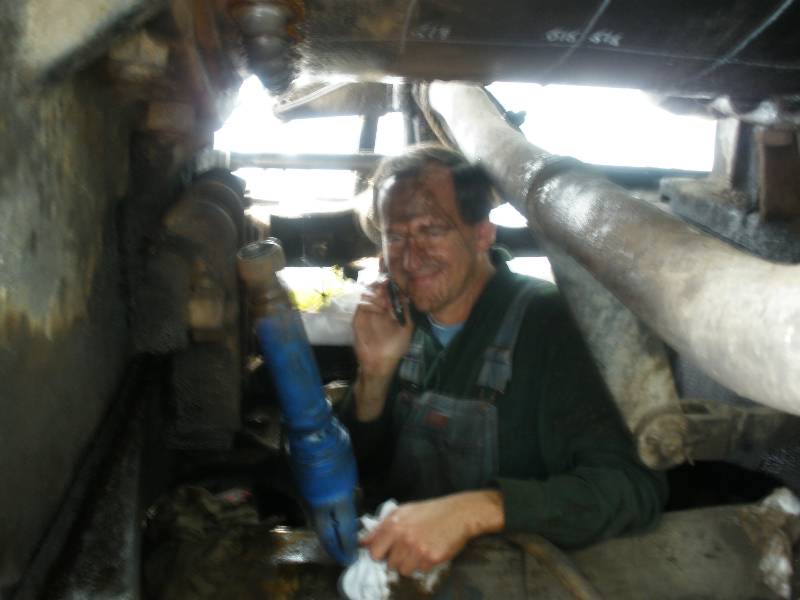
Always time to answer the phone, despite the dirt. Gerald and Jim cutting metal to be used in repainting the cab. | |||
Henry Chandler working on smokebox repairs. Scott Martel doing a little metal cleaning on the running gear. | |||
Replacement of the bottom smokebox sheet is almost complete. The outer shell is installed and welded into place. | |||
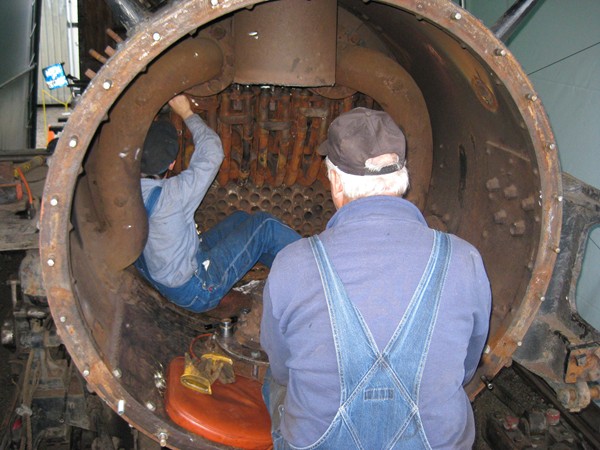
Jeff grinding the rear tube sheet preparing for tube installation. Henry is on the right, removing a stay. Closeup of Henry burning out an old staybolt. | |||
New Member Jim wire brushing one of the many tank support brackets. Les working removing plumbing from the blowdown valve. One more replacement stay to go in the boiler blackhead. | |||
Pam and Gerald threading staybolt on the engineers side of the cab. John tirelessly wiring brushing the frame and running gear to remove all the rust, caked grease and dirt built up over many years of service. Not a glamorous job, but thanks to John the engine will look much better when it returns to service. | |||
Another not so glamorous job, Jim is wire brushing the tank support brackets in preparation for painting. Tapping another staybolt hole. | |||
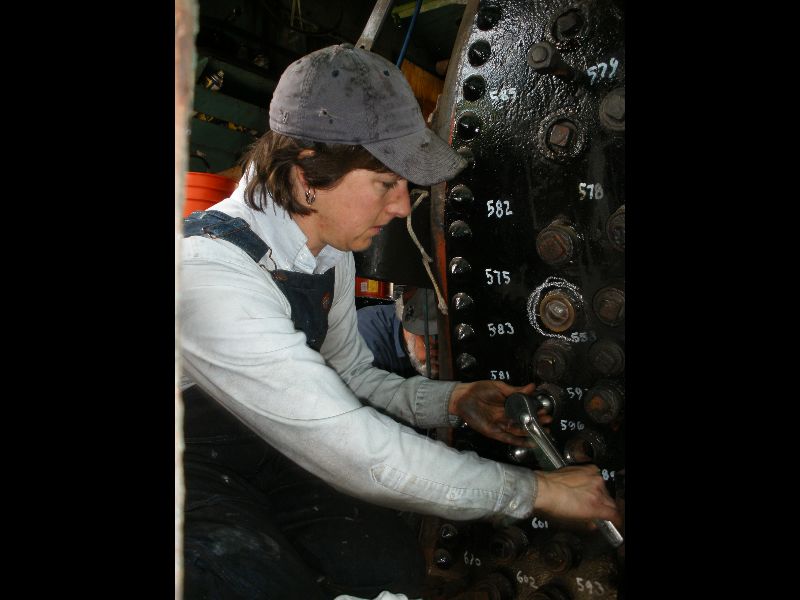
Gerald and Pam continue working on staybolts on the engineers side of the cab. Pam threading in a new flexible staybolt. | |||
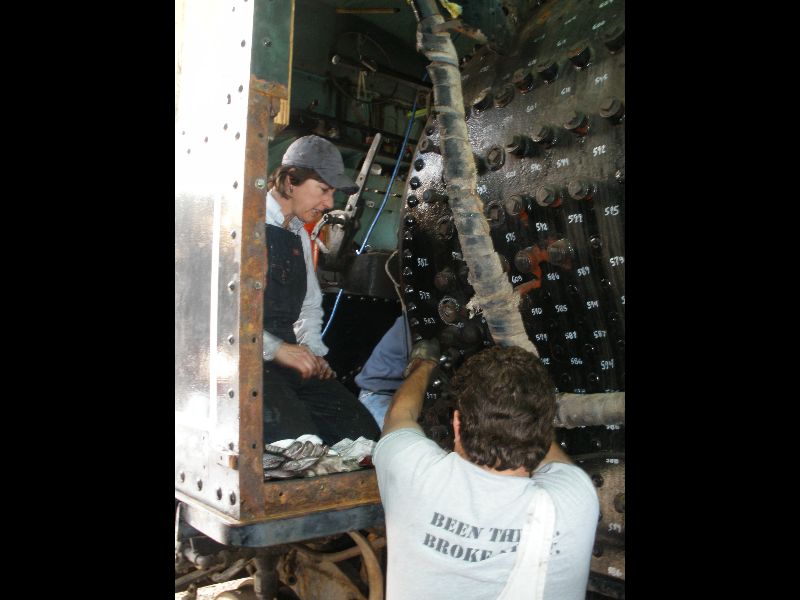
Henry threading blackhead stays. The second tap sticking out of the sheet is being driven by Pam in the firebox. Gerald cleaning up stay threads with a die. Tapping stays two at a time. | |||
Chris rethreading the side tank support bracket mounting holes on the boiler. Henry tapping the holes in one of the new flush patches installed in the firebox in preparation for installing new staybolts. | |||
C.J. painting one of the many tank support brackets. Gerald is cleaning the threads on PLA's stock of staybolts. Many of these stays will be used in the $4 but those that are not will be checked for size, cleaned, cosmolined and stored properly for use in the future. | |||
Alan threading in a new flexible staybolt. (David Loyola photo) Two new flexible staybolts installed, two more to go in this area of the firebox. | |||
Henry in the firebox working on tapping staybolt holes. Jim (or at least his hands) threading a new rigid staybolt into place on the engineer's side sheet from outside the cab. Great place to work - right next to the cab floor and wall. The power reverse and other linkage had to be removed for this work. | |||
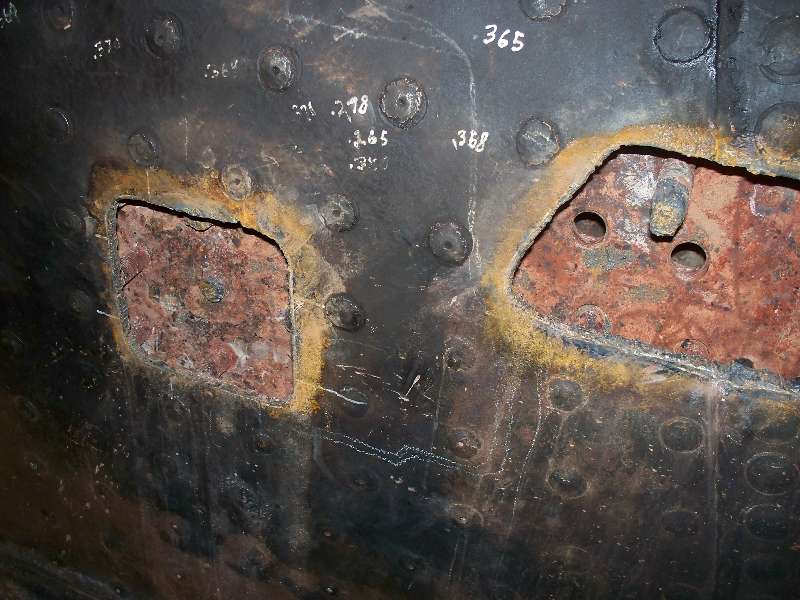
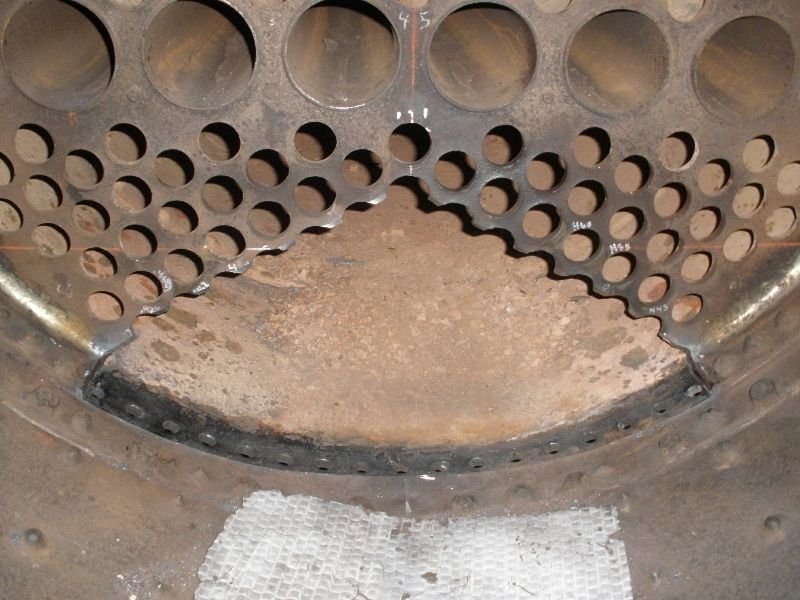
Completed tube sheet installation after riveting and welding. One of the completed firebox flush patches in the firebox. | |||
Blake backing rivets with Johnathon Kruger providing added force by pushing on Blake's arms. John with Dave adding weight riveting another one. Doug stands by to tell the backing crew how the process is going. | |||
Blake backing a hot rivet underneath the boiler. Down below, Johnathon Kruger is helping by pushing on Blake's arms to back the riveting. Using tongs to handle the hot rivet, Henry Chandler puts a rivet in the hole while Blake waits to start backing with a 90 pound gun. | |||
Rivet being heated until white hot in the rivet oven. Dave Loyola and Doug Vanderlee listen as John Rimmasch explains the top side riveting procedure. Dave will help John by adding weight on John's shoulder to keep the air gun down. Doug will communicate with the rivet heating crew. | |||
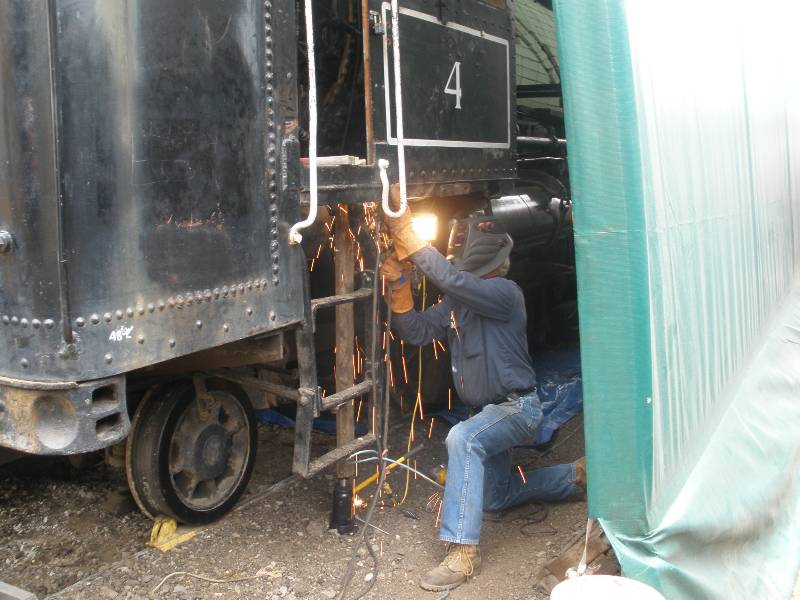
The lower portion of the front tube sheet had to be removed had reduced the thickness of the knuckle below safe levels. Wasatch Railroad Contractors welder Blake welding up cab wear on the rear door sheet. | |||
The new section of cab wall formed and fitted but yet receive the holes necessary for the appurtenances that have to pass through it. | |||
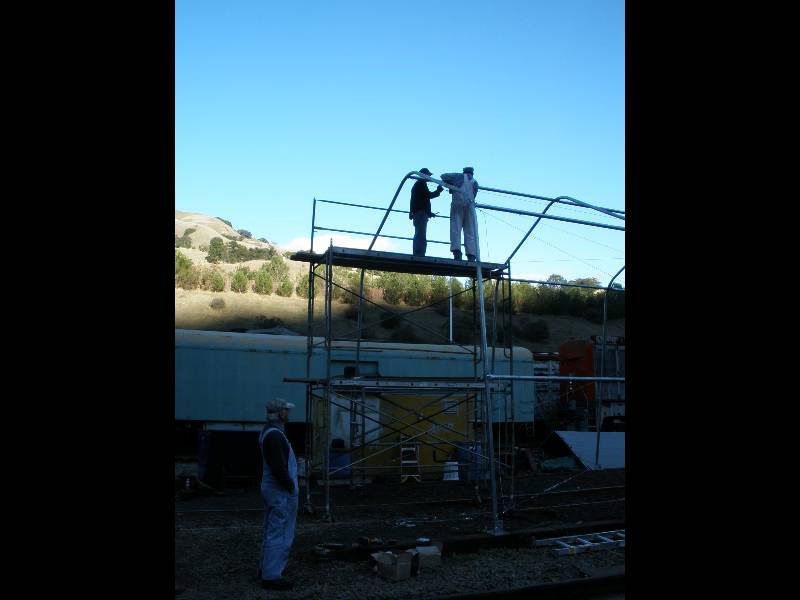
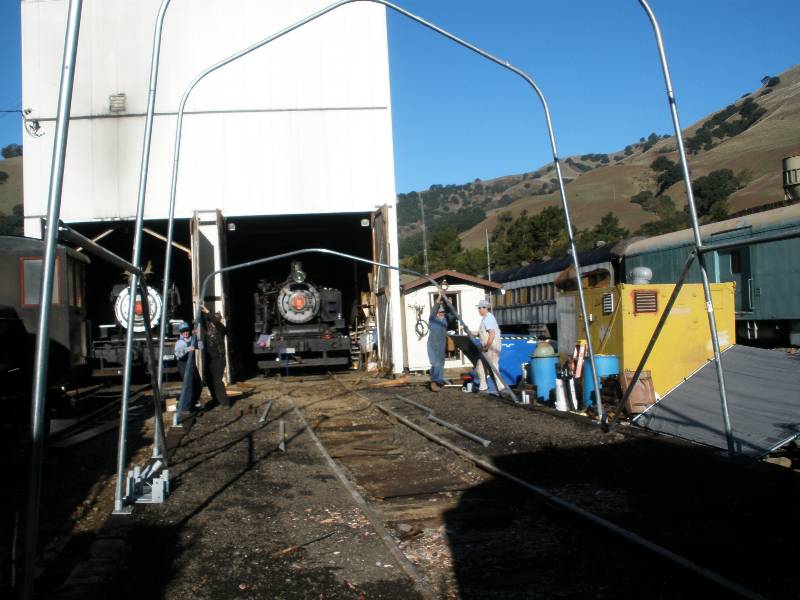
Henry drilling holes in stay bolts that will be removed from the blackhead. The new Mallet house. The number 4 sitting inside the completed tent which was finished just in time as it as been raining continuously here in the Bay Area. | |||
Les cleaning the plate cut out to replace the engineers lower cab wall. Chris drill mounting holes for the new fire pan. | |||
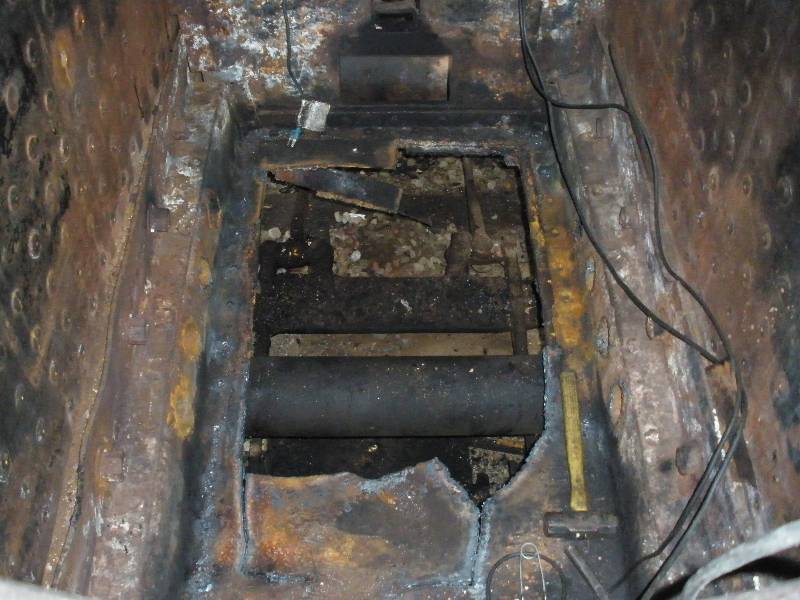
Not a common sight when you look through the firebox door - the ground! The bar across the opening is actually the axle on the rear driver. The fireman is in the process of being cut out and replaced as it has been modified beyond believe over the years of service on the Clover Valley. Actually, we are in the process of cutting out TWO firebox pans as the lumber company just added another floor over the old one (with an one inch area in between filled with Bunker C!) when it was time to repair the firepan. | |||
Gerald DeWitt and Dan Dornbrach installing cable stays to tighten up and square the tent support structure. End of the day, the Mallet is backed down into the new structure for the night. Hopefully just one more day to finish the tent installation so the engine will inside protected from the weather all winter. | |||
When all else fails - READ THE DIRECTIONS. Dan, Jim, Henry and Gerald demonstrate this long lost art. There is sure a lot of this reading directions stuff today. Johnathon and Charlie in action. | |||
Henry, Pam and Gerald lay out one of the tent support hoops. Pam, Dave Loyola, Henry Chandler and Gerald DeWitt raise up one of the tent supports after assembly. | |||
No better way to move material than shovels. Alan Siegwarth spreading asphalt chips. Nice picture of the new improved walkway/work area with asphalt chips spread out and compacted alongside the track. Once the tent is complete, it will almost be as nice as working inside the shop. | |||
Dumping asphalt chips to use as a raised walkway inside the tent using one of the PLA's recently acquired Central California Traction ballast cars. Henry Chandler, Johnathon Kruger, Jim Adams and Dan Dornbrach take a break from shoveling. | |||
Jeff and Gerald DeWitt reinstalling the firemans side cab step. The bolts holding the steps on were rusted and corroded to the point that the step was no longer safe for use. A simple job right? No, of course not. The repair required removing the step/welds, fixing and straightening the bent step, cutting and repairing the cab floor, building a doubler plate to support the step and finally - shown here - reinstalling the step. |


Henry Chandler and Jeff Schwab making fine adjustments on the Mallet's cab. All that is required is a little heat and a large sledgehammer. Cab damage is being repaired in preparation for reinstalling the steps on the fireman's side. |